
How to Stitch Sashiko Coasters: A Beginner-Friendly Guide

Looking for a small, satisfying hand-stitching project you can actually finish? This sashiko coaster tutorial is a great place to start — approachable enough for beginners but still enjoyable if you’ve stitched before. Here’s how I tackled mine, plus some tips to help you along the way.
What I Used
• Olympus sashiko coaster collection – TC-4 Purple
Each kit includes five printed patterns on 10cm x 10cm Kofu Tsumugi (a yarn-dyed 100% cotton cloth that’s lovely to work with).
• Olympus sashiko thread – Colour 73
It’s a variegated thread that shifts between pink, purple and white, which really pops against the darker cloth.
• Sashiko needles
I used a longer needle for the straight runs and a shorter one for anything curvy — much easier to handle that way.
• Scissors
Obvious, but yes, you’ll need these.
• Thimble (optional)
I didn’t use one for my own stitching since these squares are small, but I did demo it in my video to show how they’re worn and used.
The Designs in the Olympus Sashiko Coaster Collection
Each kit comes with five traditional sashiko patterns. Here’s a quick intro to what each one means:
Seigaiha (Blue Ocean Waves) – symbol of good fortune and waves of happiness
Monyo (Botanical Motif) – inspired by natural elements and plant life
Shippo Tsunagi (Seven Treasures) – symbol of harmony and infinite connection
Asanoha (Hemp Leaf) – for growth, strength, and resilience
Higaki (Cypress Fence) – representing protection and endurance
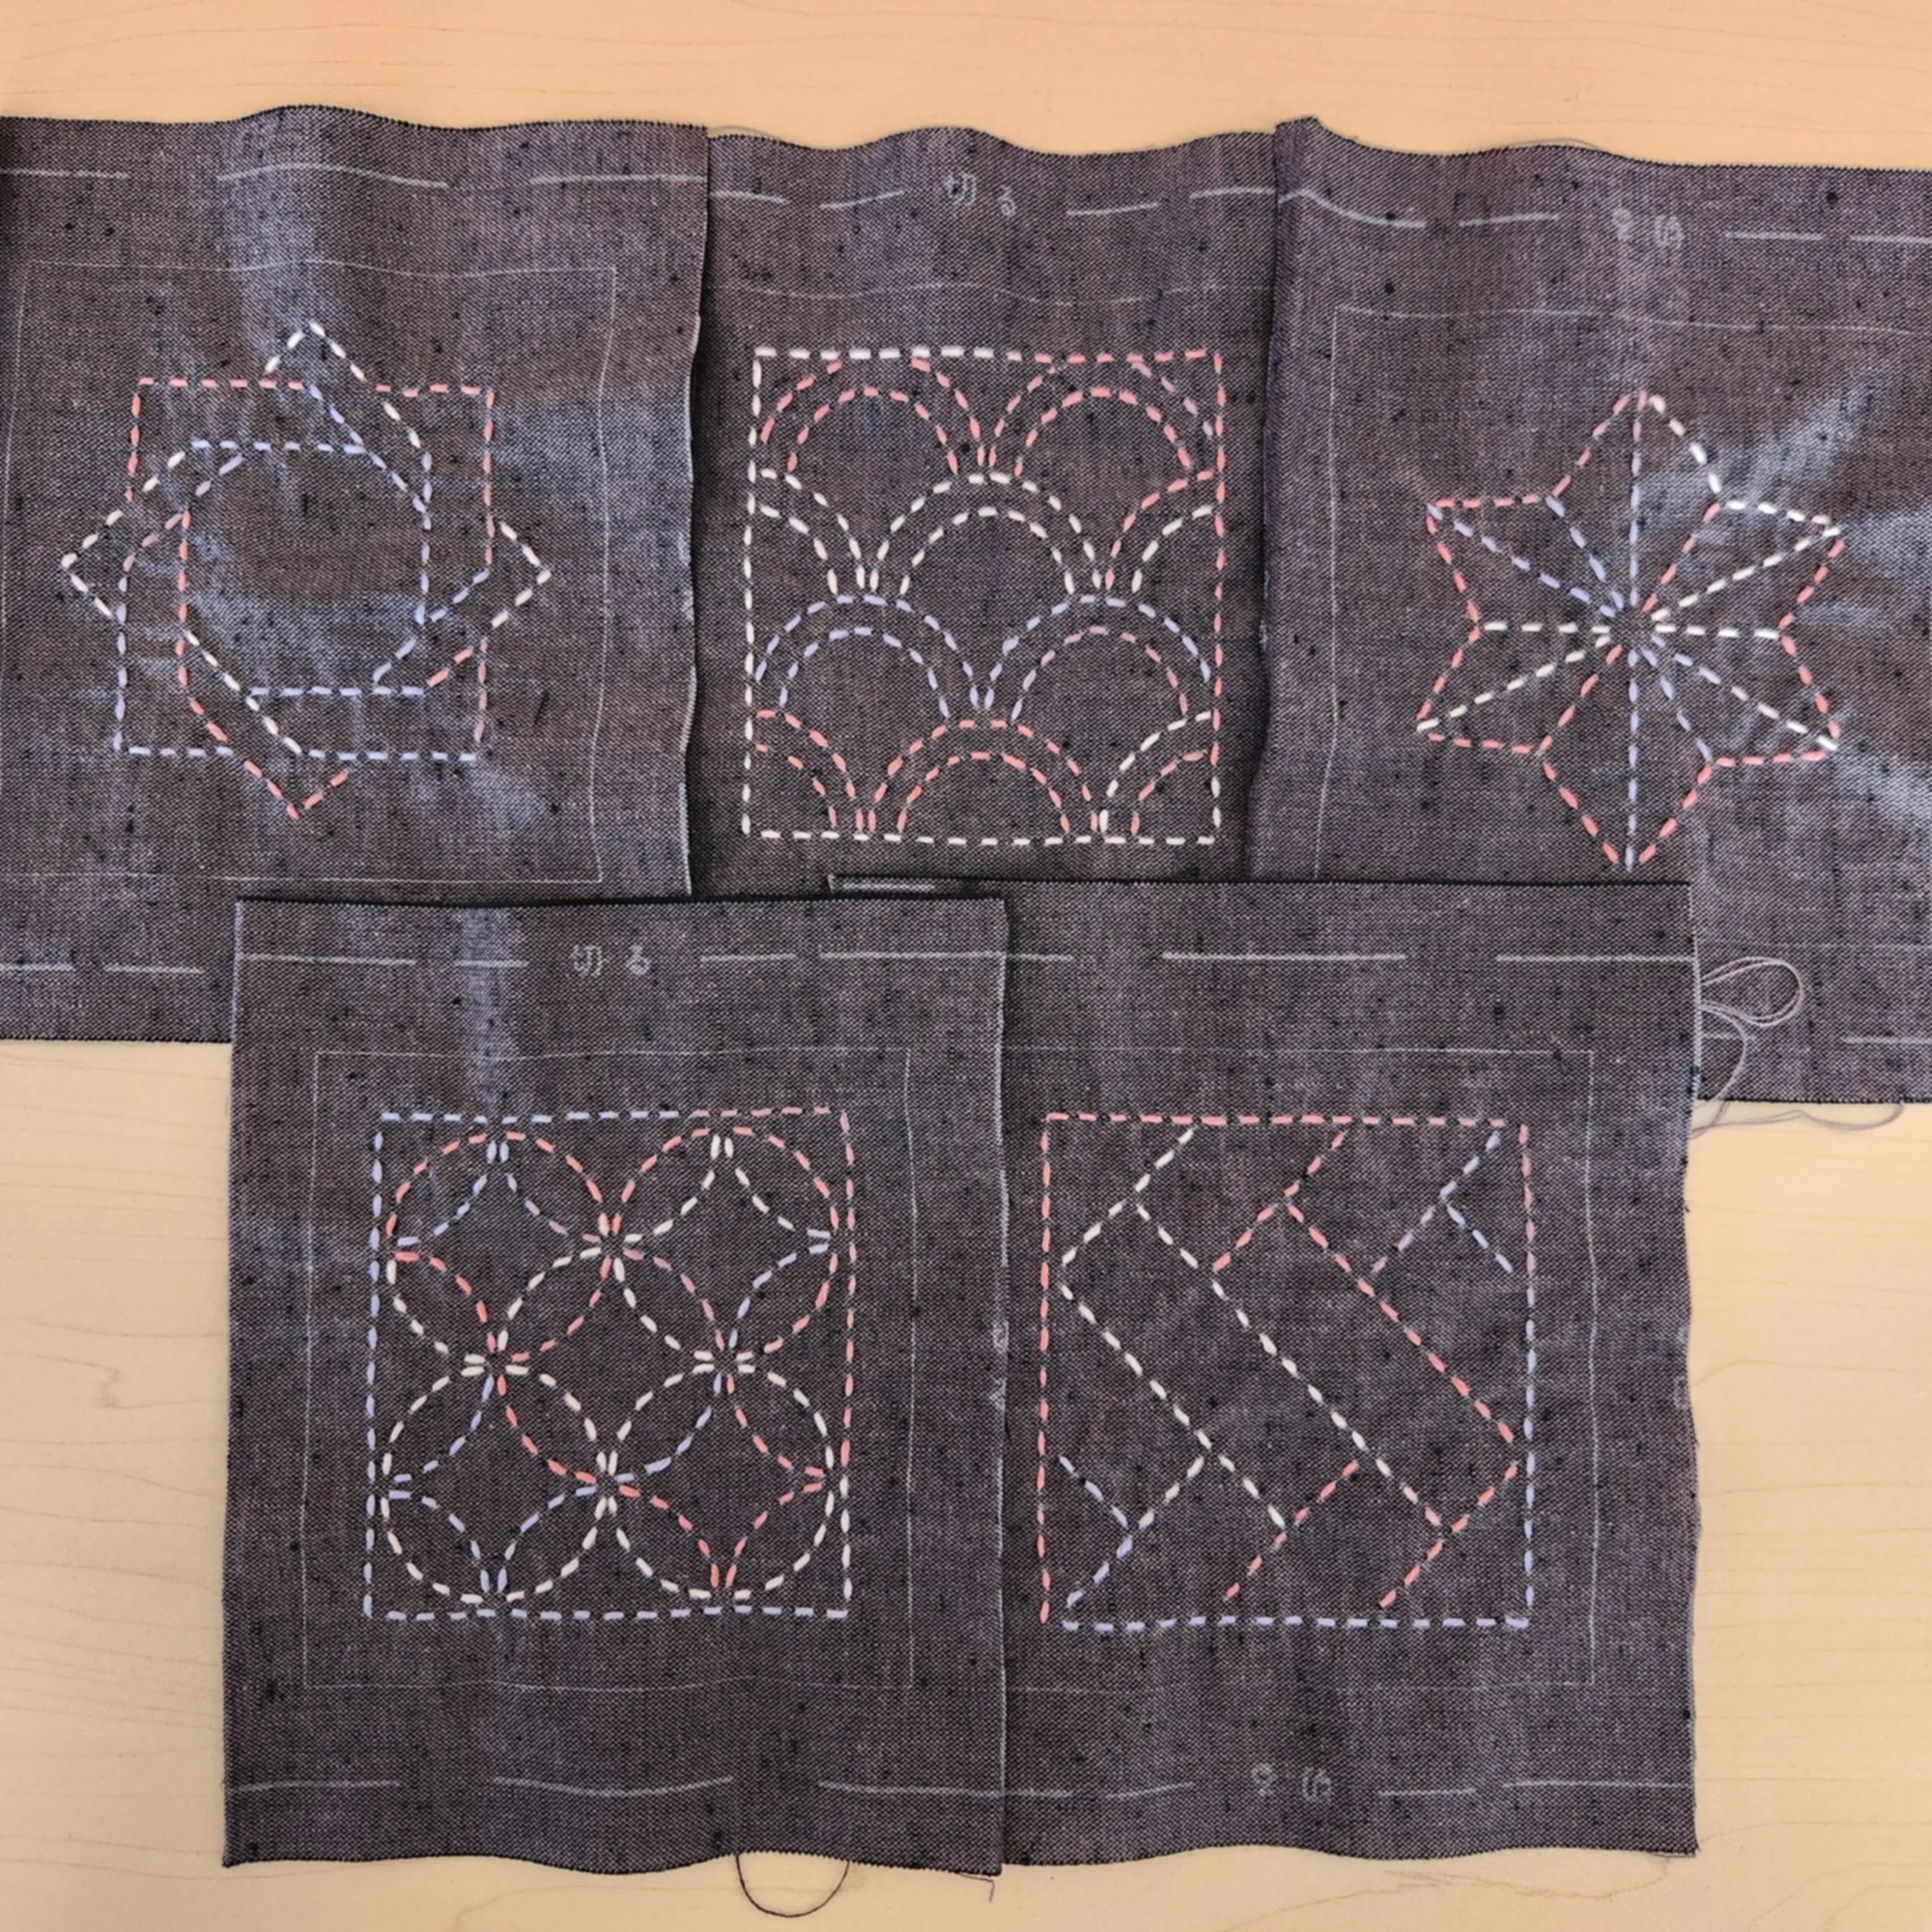
All designs in the coaster collection - starting top left: monyo, seigaiha, asanoha, shippo tsunagi and higaki.
I stitched all five from the TC-4 Purple set, and the combination of the printed cloth and variegated thread made each one feel unique, even before choosing how to use them.
How to Stitch a Sashiko Coaster (Beginner-Friendly Tutorial)
(Video demo at the end of this post, if you prefer to follow along visually.)
1. Choose a design
Pick whichever pattern speaks to you — I started with Higaki.
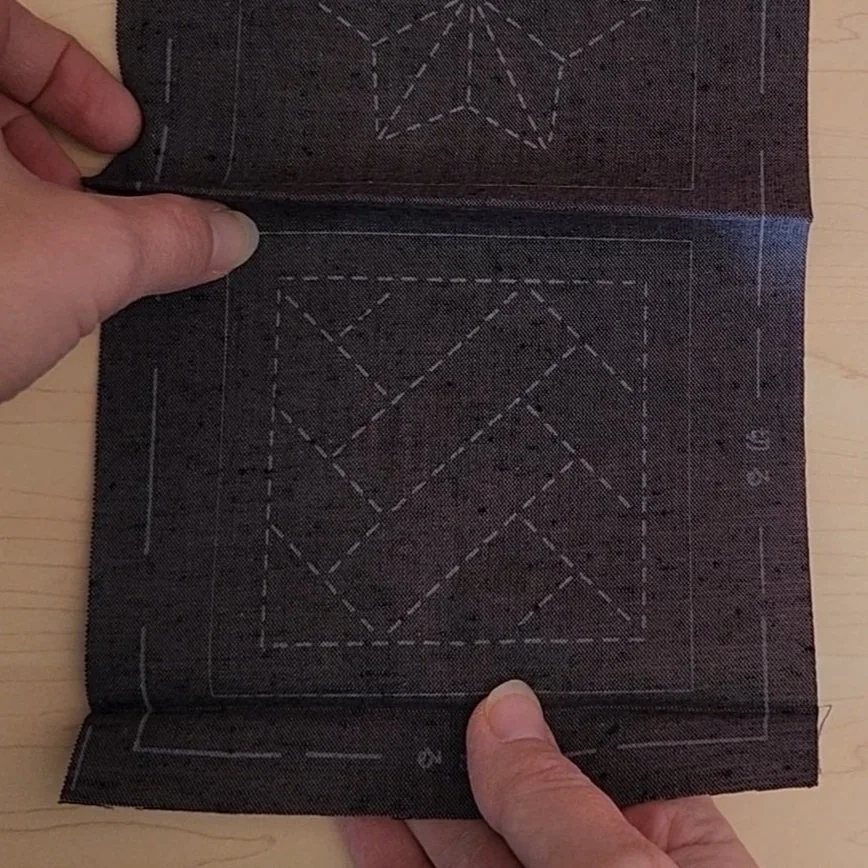
Nice clear lines to follow on each coaster design.
2. Cut your thread and thread your needle
About 40cm of thread is a good length — long enough to make progress, short enough to avoid too many tangles.
Threading is a little easier than a regular needle due to the bigger eye on the sashiko needles.
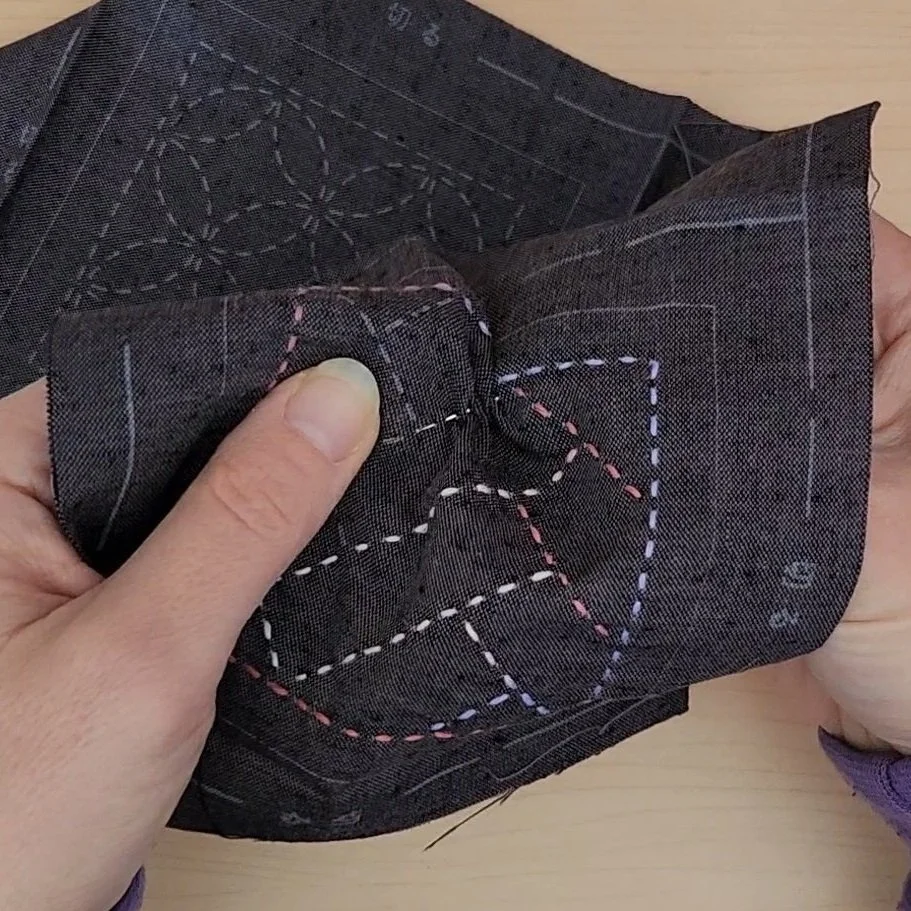
3. How to start (and finish) your thread
The kit suggests doubling back over a few stitches, which works, but those stitches do show a bit on the front. You can also tie a small knot to stop the thread pulling through if you prefer.
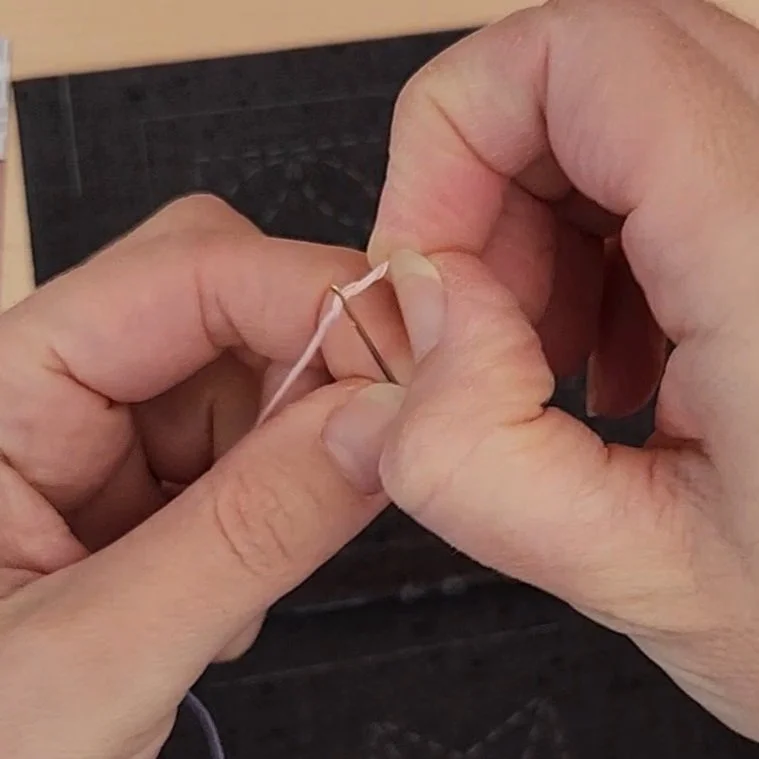
I prefer weaving the tail back and forth on the back of the stitches — it’s tidier, especially with thicker sashiko thread. A bit fiddlier, yes, but worth it. Use the technique that works best for you.
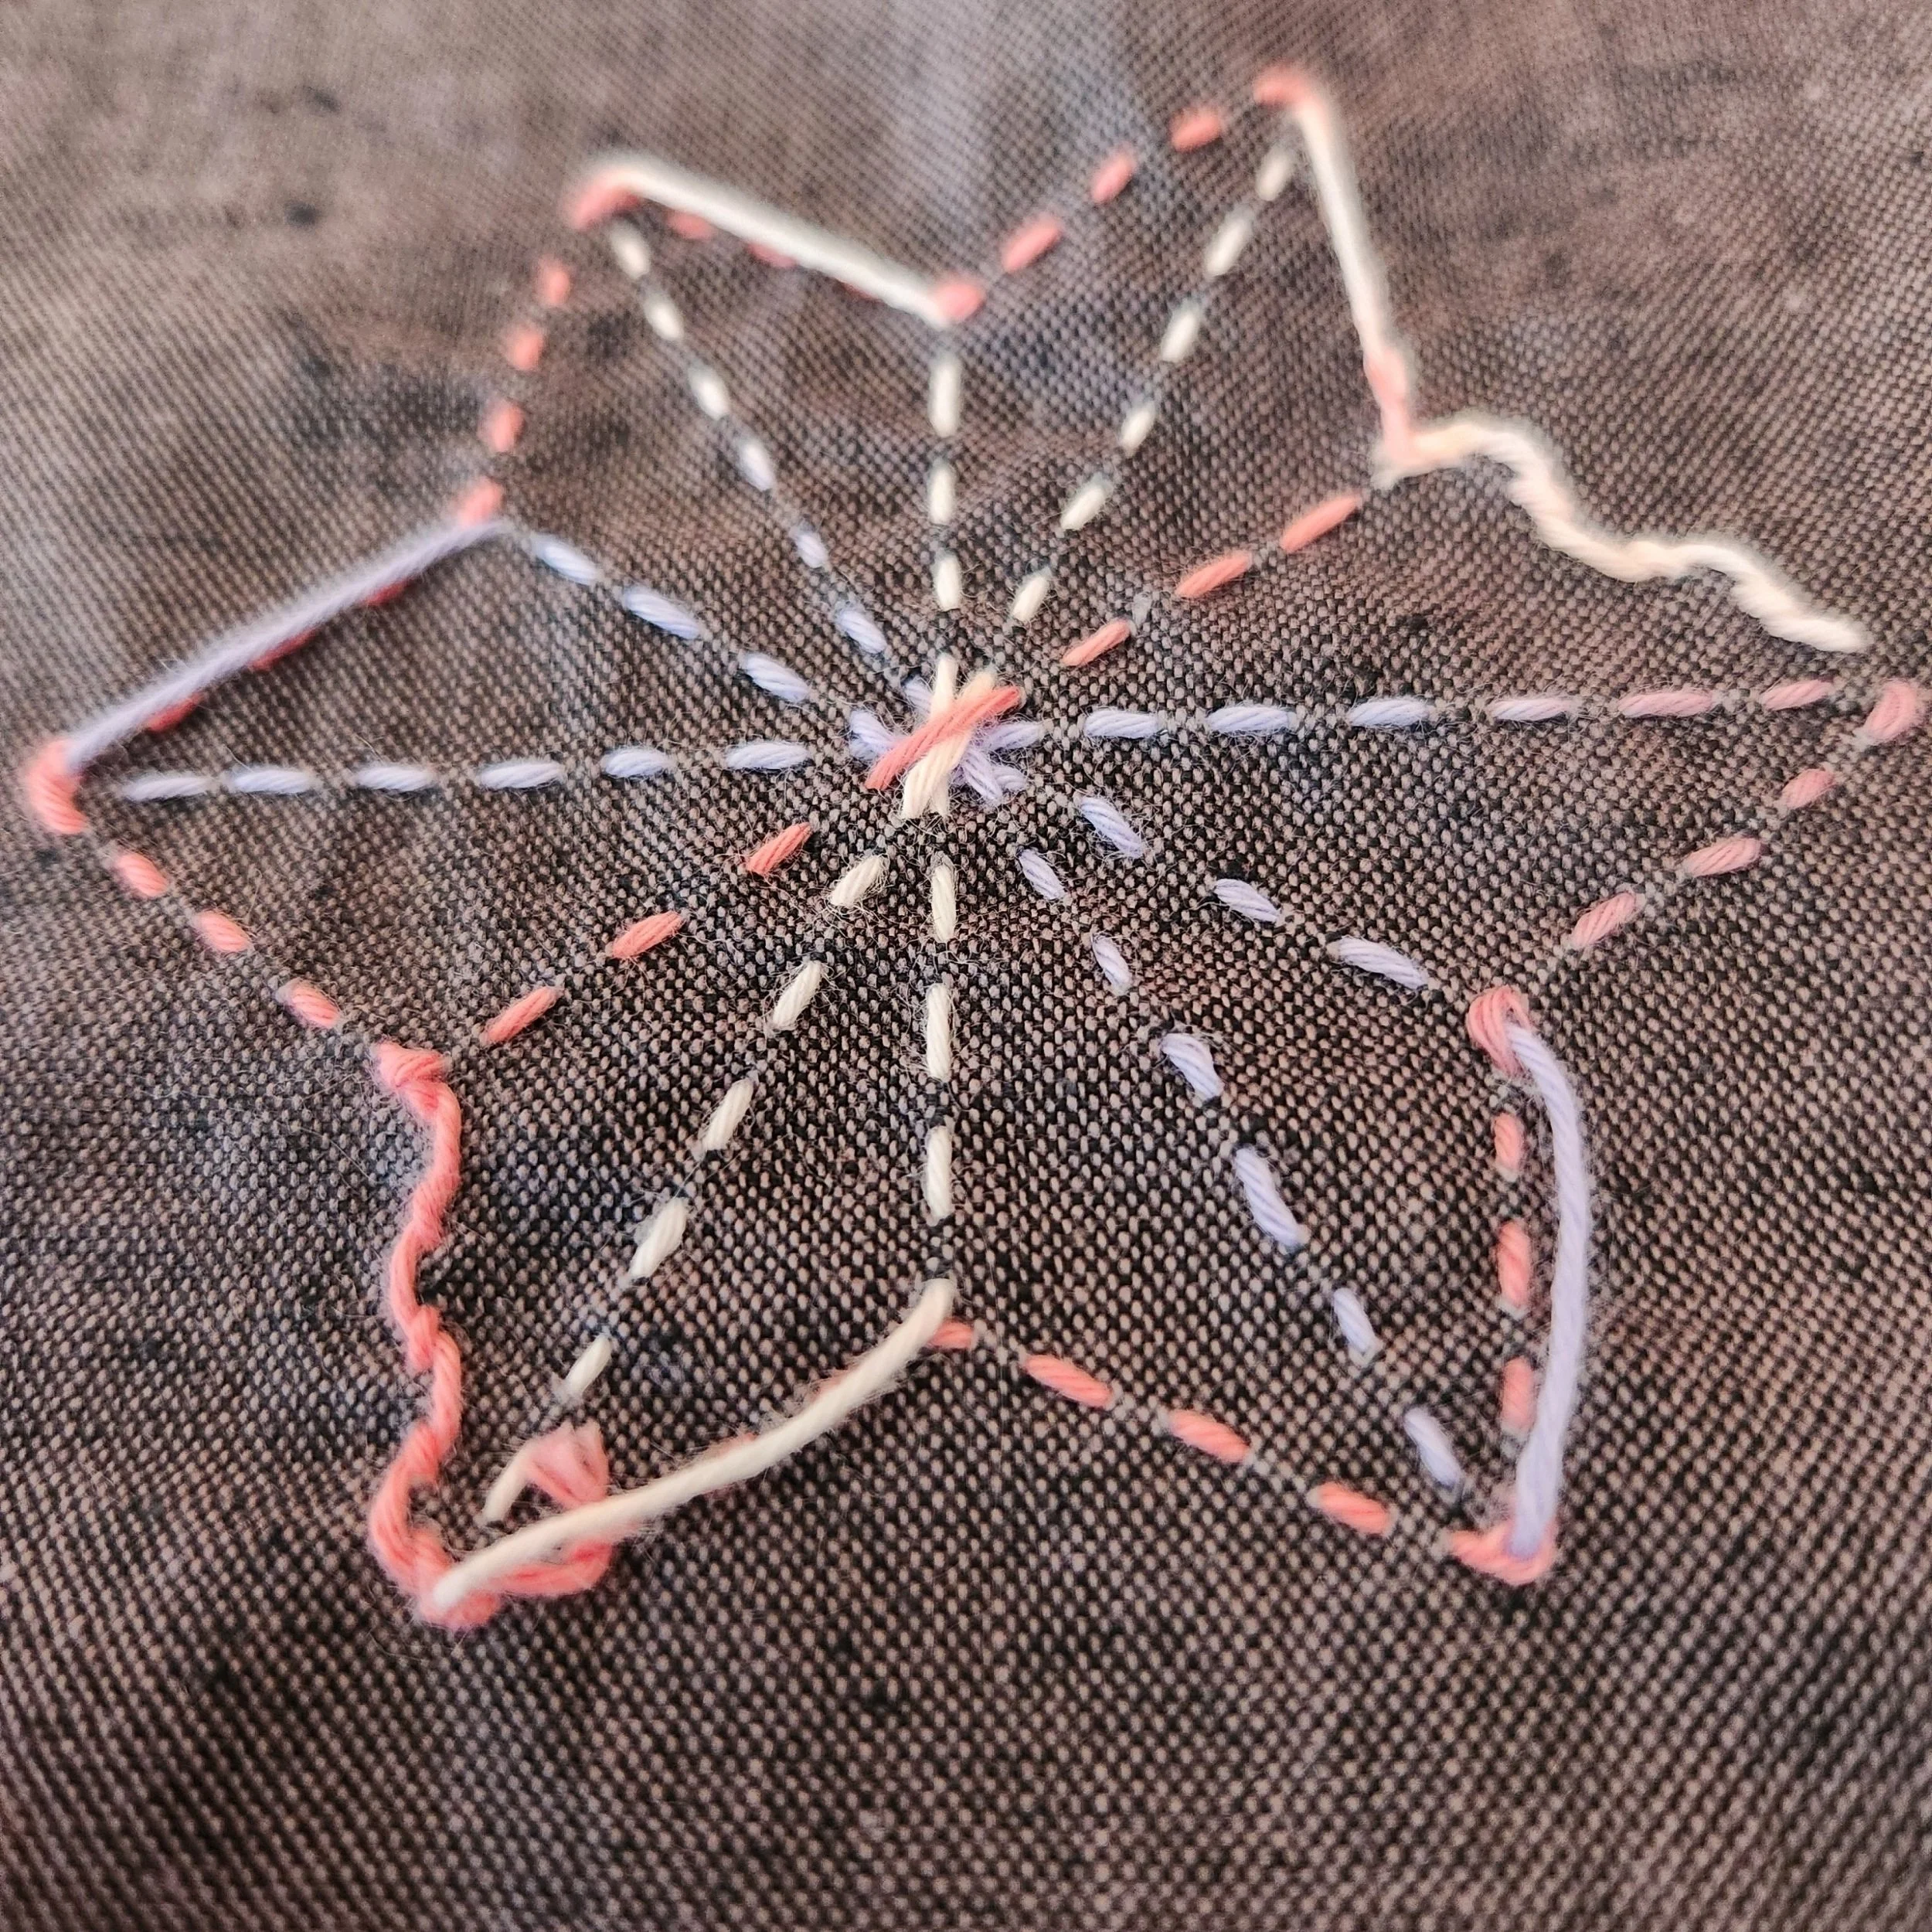
A close-up of how I weave the thread tail into the back — my preferred way to start and finish. (It’s a bit blurry, but hopefully you can still see the detail!)
4. Stitch along the printed lines
Use longer needles for long straight lines and shorter ones for curves — they’re easier to handle in tight spots. Try loading several stitches onto the needle before pulling it through; this is one of the techniques that makes sashiko unique and helps you move quickly through the design. Don’t worry if your stitches are a bit wobbly — that slight wonkiness is part of the charm of hand-stitched work. Keep your tension even (not too tight, not too loose), and smooth along your stitches with your fingers after each pass to help them settle neatly.
Loading on a few stitches for a straight section before pulling through.
5. Leave some slack across the back
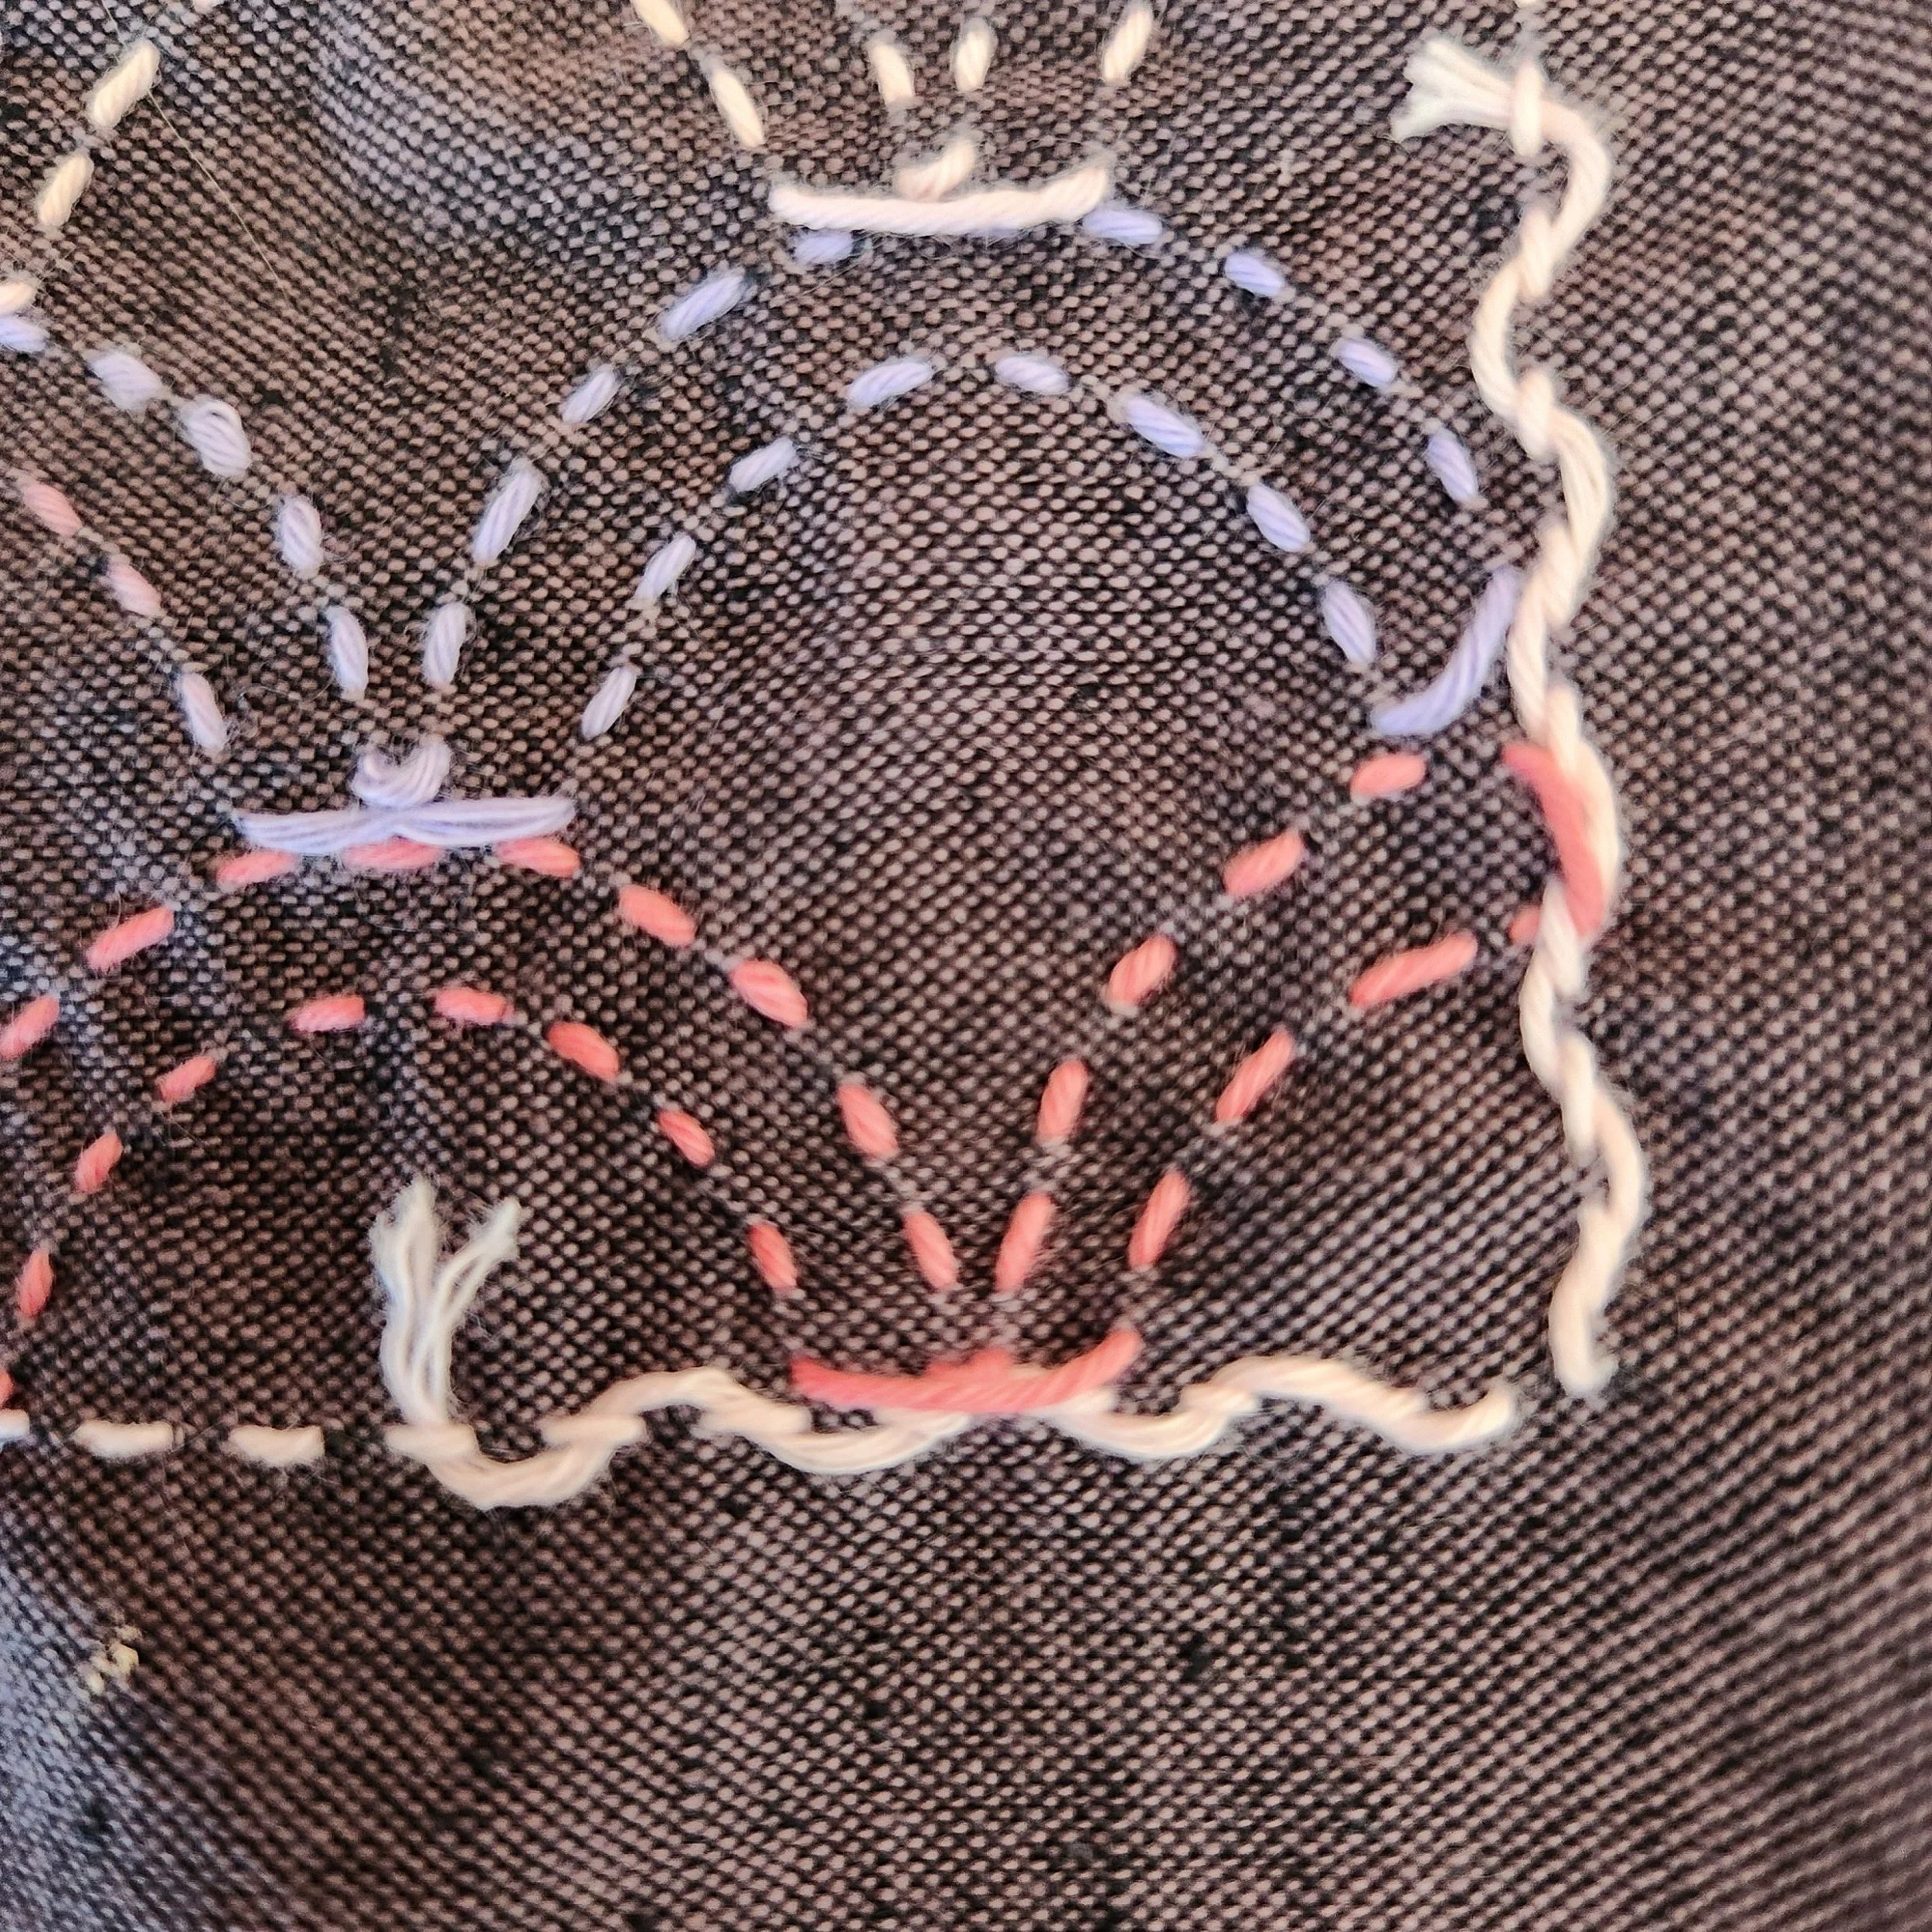
When carrying the thread across a gap, make sure there’s a tiny bit of slack in the thread. Pulling tight causes puckering, and that can distort your design. It is nearly like leaving little loops on the back.
See how the carried stitches on the back are left slightly loose — this helps prevent puckering. You can also spot the thread ends woven in behind. (Apologies for the blurry close-up — my phone struggles a bit with detail shots!)
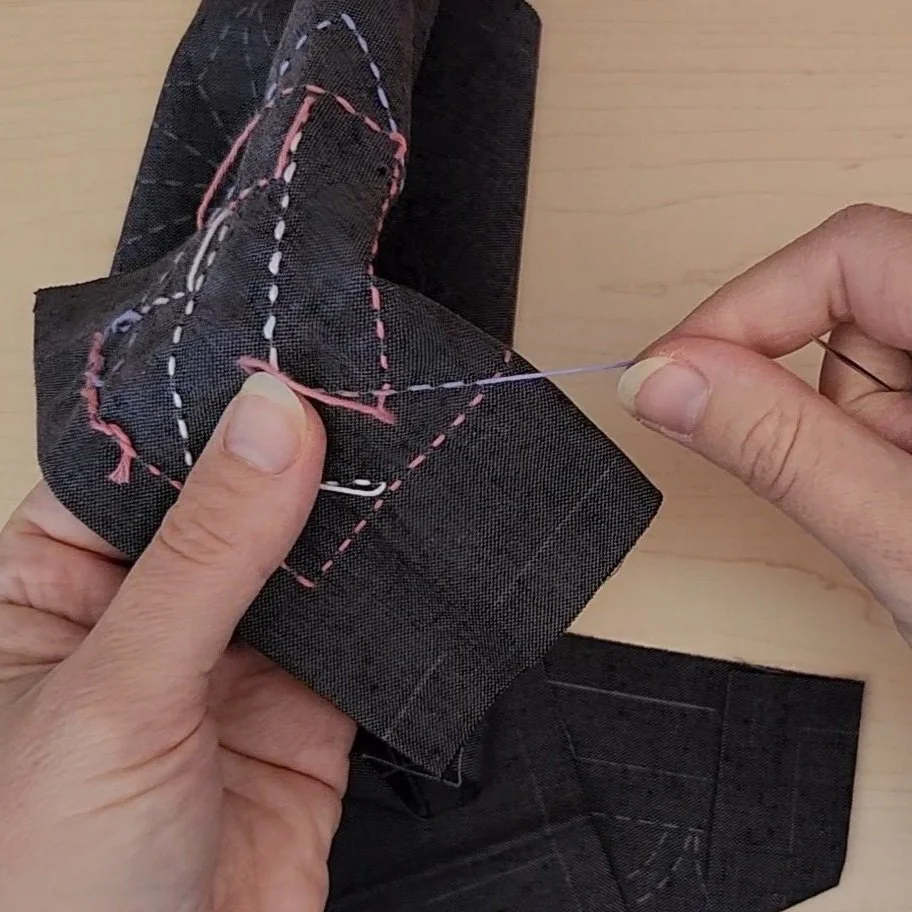
6. Secure your final stitches
Same as how you started — double back, knot, or weave the tail through the back. Trim your threads and you’re done.
Handy Sashiko Stitching Tips
Pull your thread through from the back. This helps avoid twisted stitches on the front and keeps things looking neat — especially helpful when working with thicker sashiko thread.
Each coaster took me about 30 minutes, depending on the design and distractions. I craft during my baby’s nap time and this makes a good short nap-time project.
You don’t have to use these as coasters. They’re great as patches for mending, quilt blocks, or the front panel of a zippered pouch or coin purse.
Try out different thread colours. The patterns are traditional, but the threads let you make them your own.
I haven’t decided what I’ll use mine for yet — probably a mix of coasters and mending patches. For the ones I want as coasters I’ll glue or stitch some cork on the back for sturdiness. Maybe one will even end up as a pocket on something I’ve yet to make.
Pulling the thread through from the back like this helps keep the stitches neat and untwisted on the front — a small thing that makes a big difference.
Ready to Stitch Your Own Sashiko Coasters?
Grab your supplies, thread a needle, and get started. I’d love to see what you make — tag @fibreofmybeingau on Instagram or @fibreofmybeing on Facebook, or message if you’ve got questions or need help with a tricky bit. Happy stitching!
➡️ Want to grab a kit? You can find the Olympus Sashiko Coaster Collection in my shop here.
Watch the Full Video Tutorial
(PS: You can find the full video demo below — I walk through stitching one of the coasters (Higaki), including how I start and finish my thread and why I sometimes do use a thimble.)
FAQ: Sashiko Coaster Collection
Q: Do I need previous stitching experience?
A: Nope! These kits are great for beginners, and the printed fabric makes it easy to follow along.
Q: How long does one coaster take?
A: Around 30 minutes depending on the pattern and your pace.
Q: Can I use different thread colours?
A: Absolutely! The traditional designs look beautiful with both classic and colourful threads.
Q: Where can I buy the Olympus sashiko coaster collection?
A: Right here in my online shop — I’ve stitched the TC-4 Purple version and loved how the colours and patterns worked together.