
How I Upcycled Corduroy Pants with Sashiko Gussets: Step-by-Step Guide

Upcycling is one of the most satisfying ways to give old clothes new life. A great way to do this that gives a beautiful look is by using sashiko. I found a pair of brown corduroy pants at my local op shop. I loved the quality but not the fit. Rather than pop them back on the rack, I bought them with intentions to upcycle into something unique by adding my own personality. I decided to reshape the legs with gussets, and turn those gussets into a canvas for sashiko. Here’s how I transformed them step-by-step, using simple materials and some hand-stitched love.
Watch the upcycle in action
If you prefer watching to reading, here’s a quick video showing how I added sashiko gussets to these corduroy pants. It walks you through the key steps, from prepping the seams to stitching and sewing the gussets.
Materials I used:
Pants to upcycle
Some plain fabric for gussets
Basic sewing supplies (I used my sewing machine and overlocker, but this can easily be done by hand too)
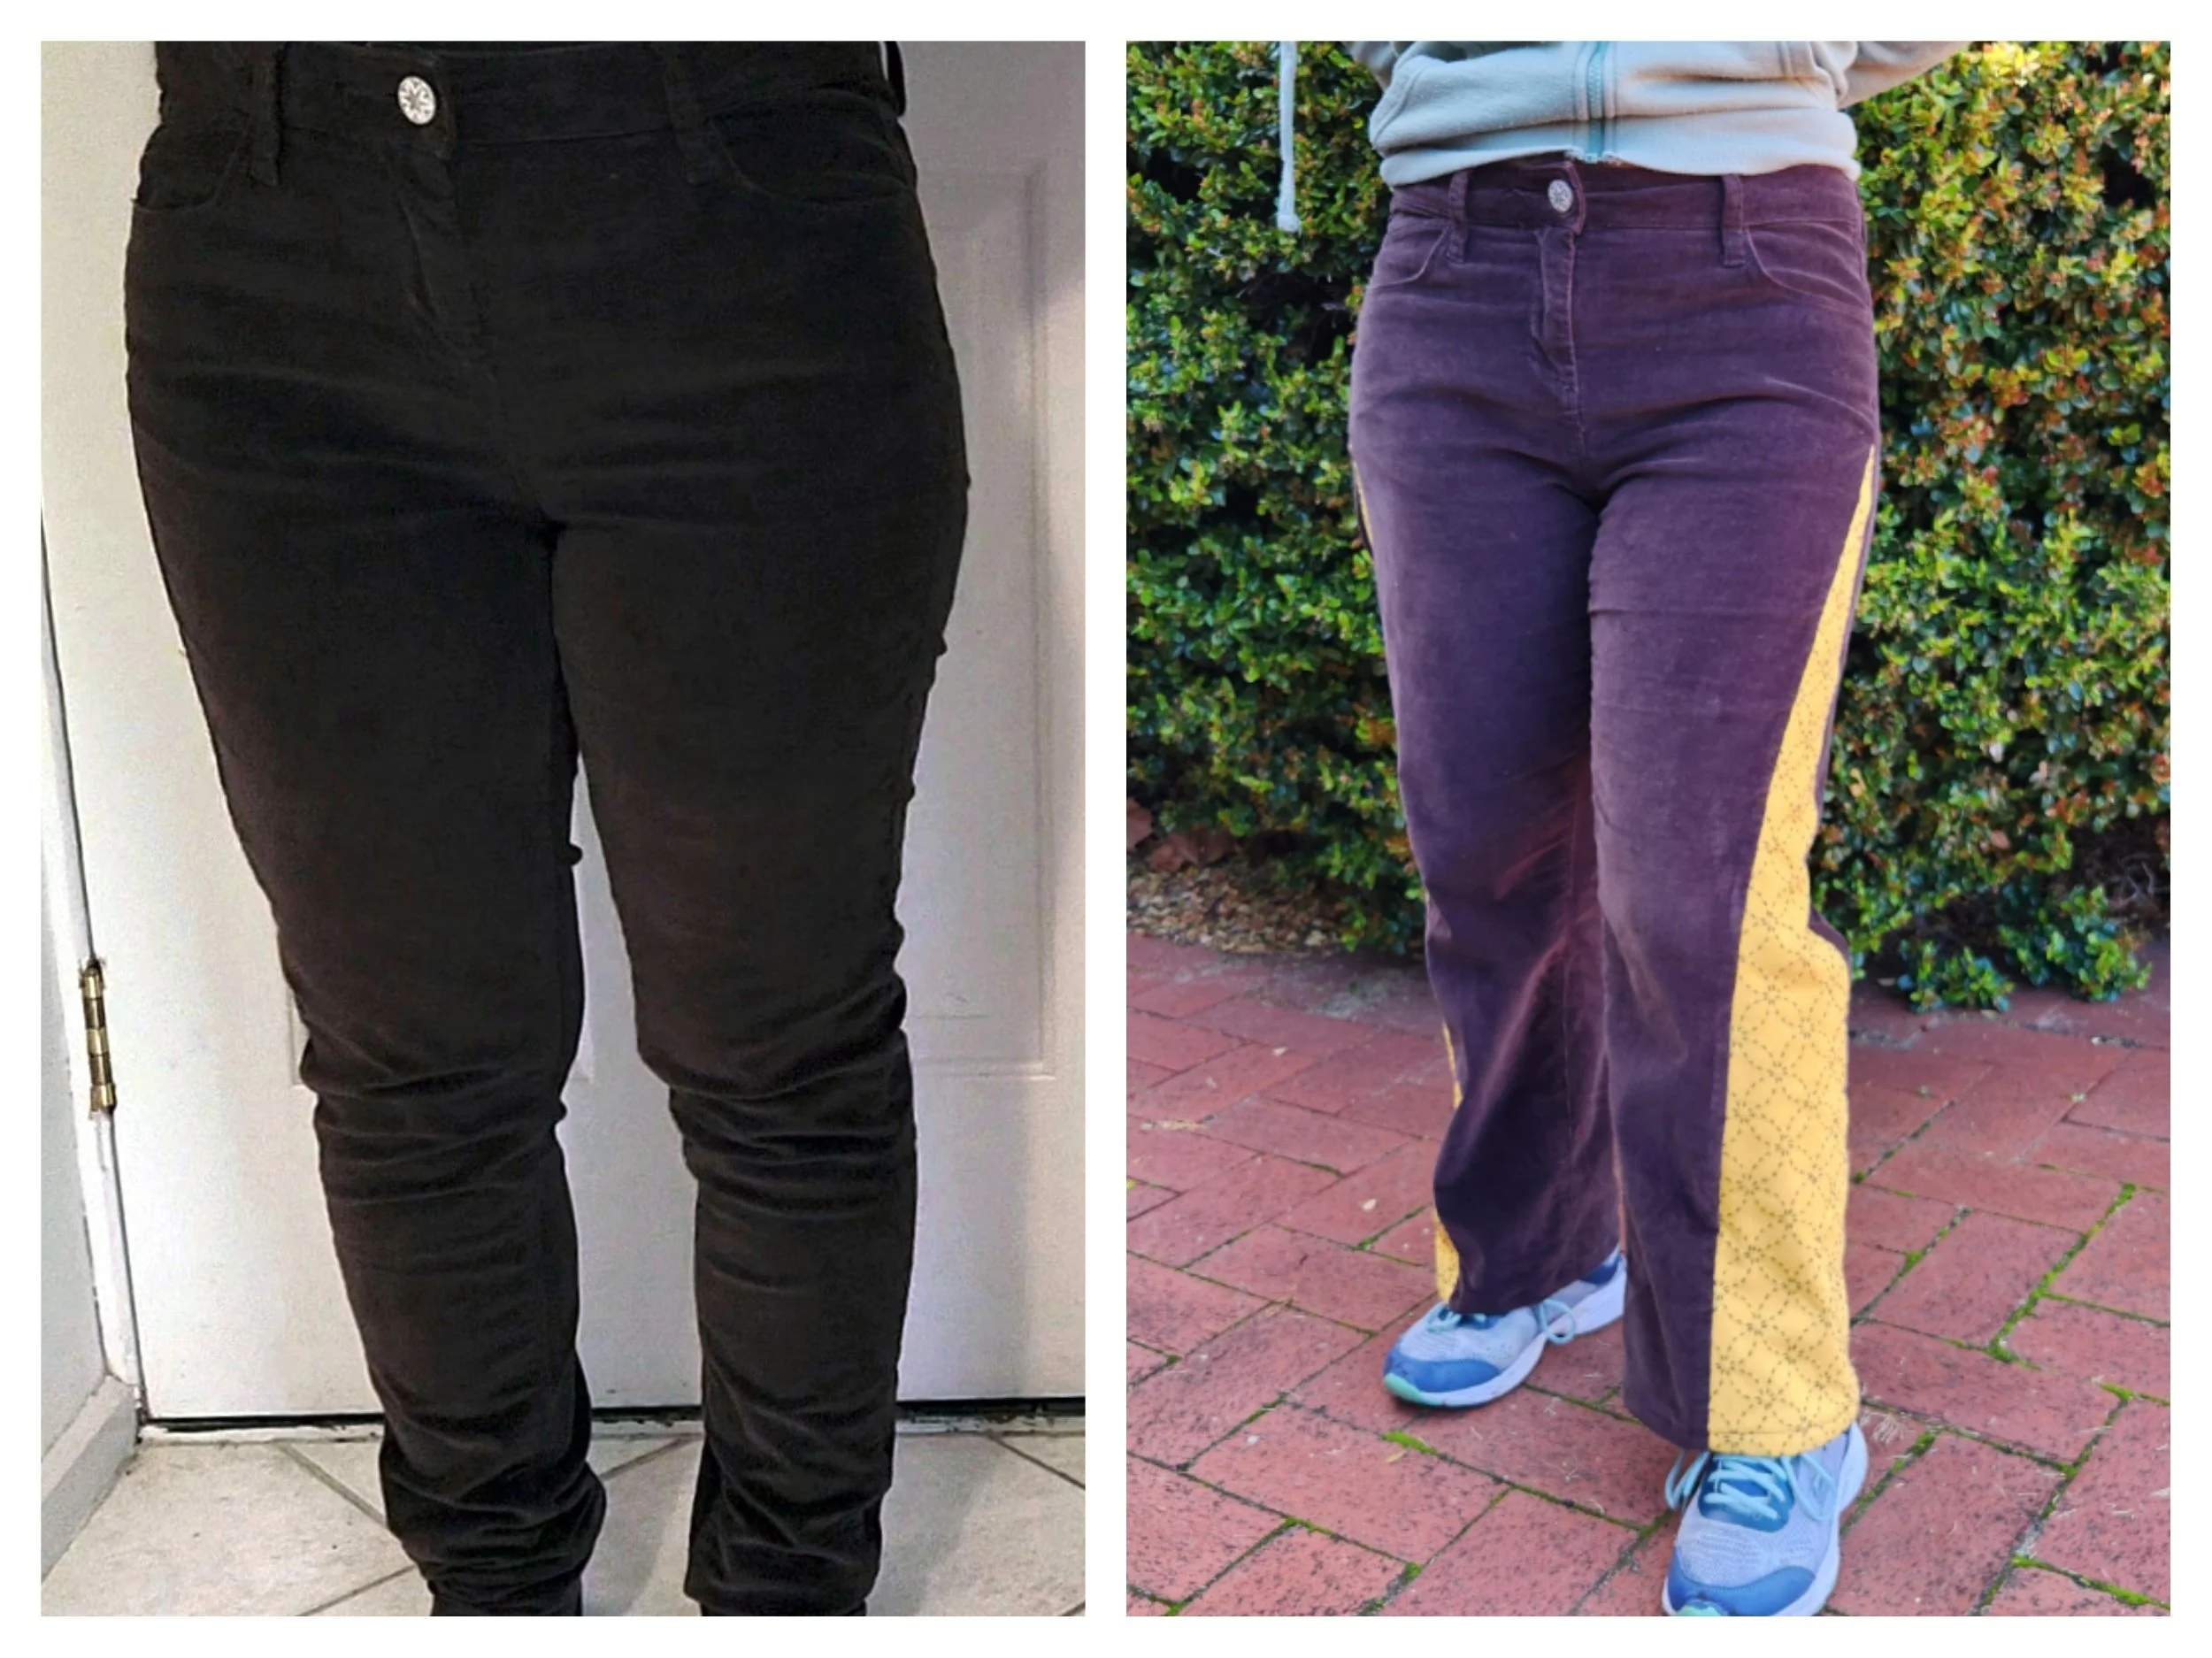
Before and after shots of my upcycled corduroy pants (please excuse my amateur photography and awkward posing! 😄).
Step 1: Preparing the Pants
I started by ripping open the side seams of each leg, from the hip down where I intended to put the gusset. To figure out the gusset size, I measured another pair of pants I own with a wider leg opening, subtracted the width of the corduroy pants, and used that difference as the gusset’s bottom width.
The gusset would taper to just seam allowance times two at the top (1cm each side, so a total of 2cm). For the length, I measured the side opening length, added seam allowance at each end (1cm each), plus extra length for the hem and a little more for error.
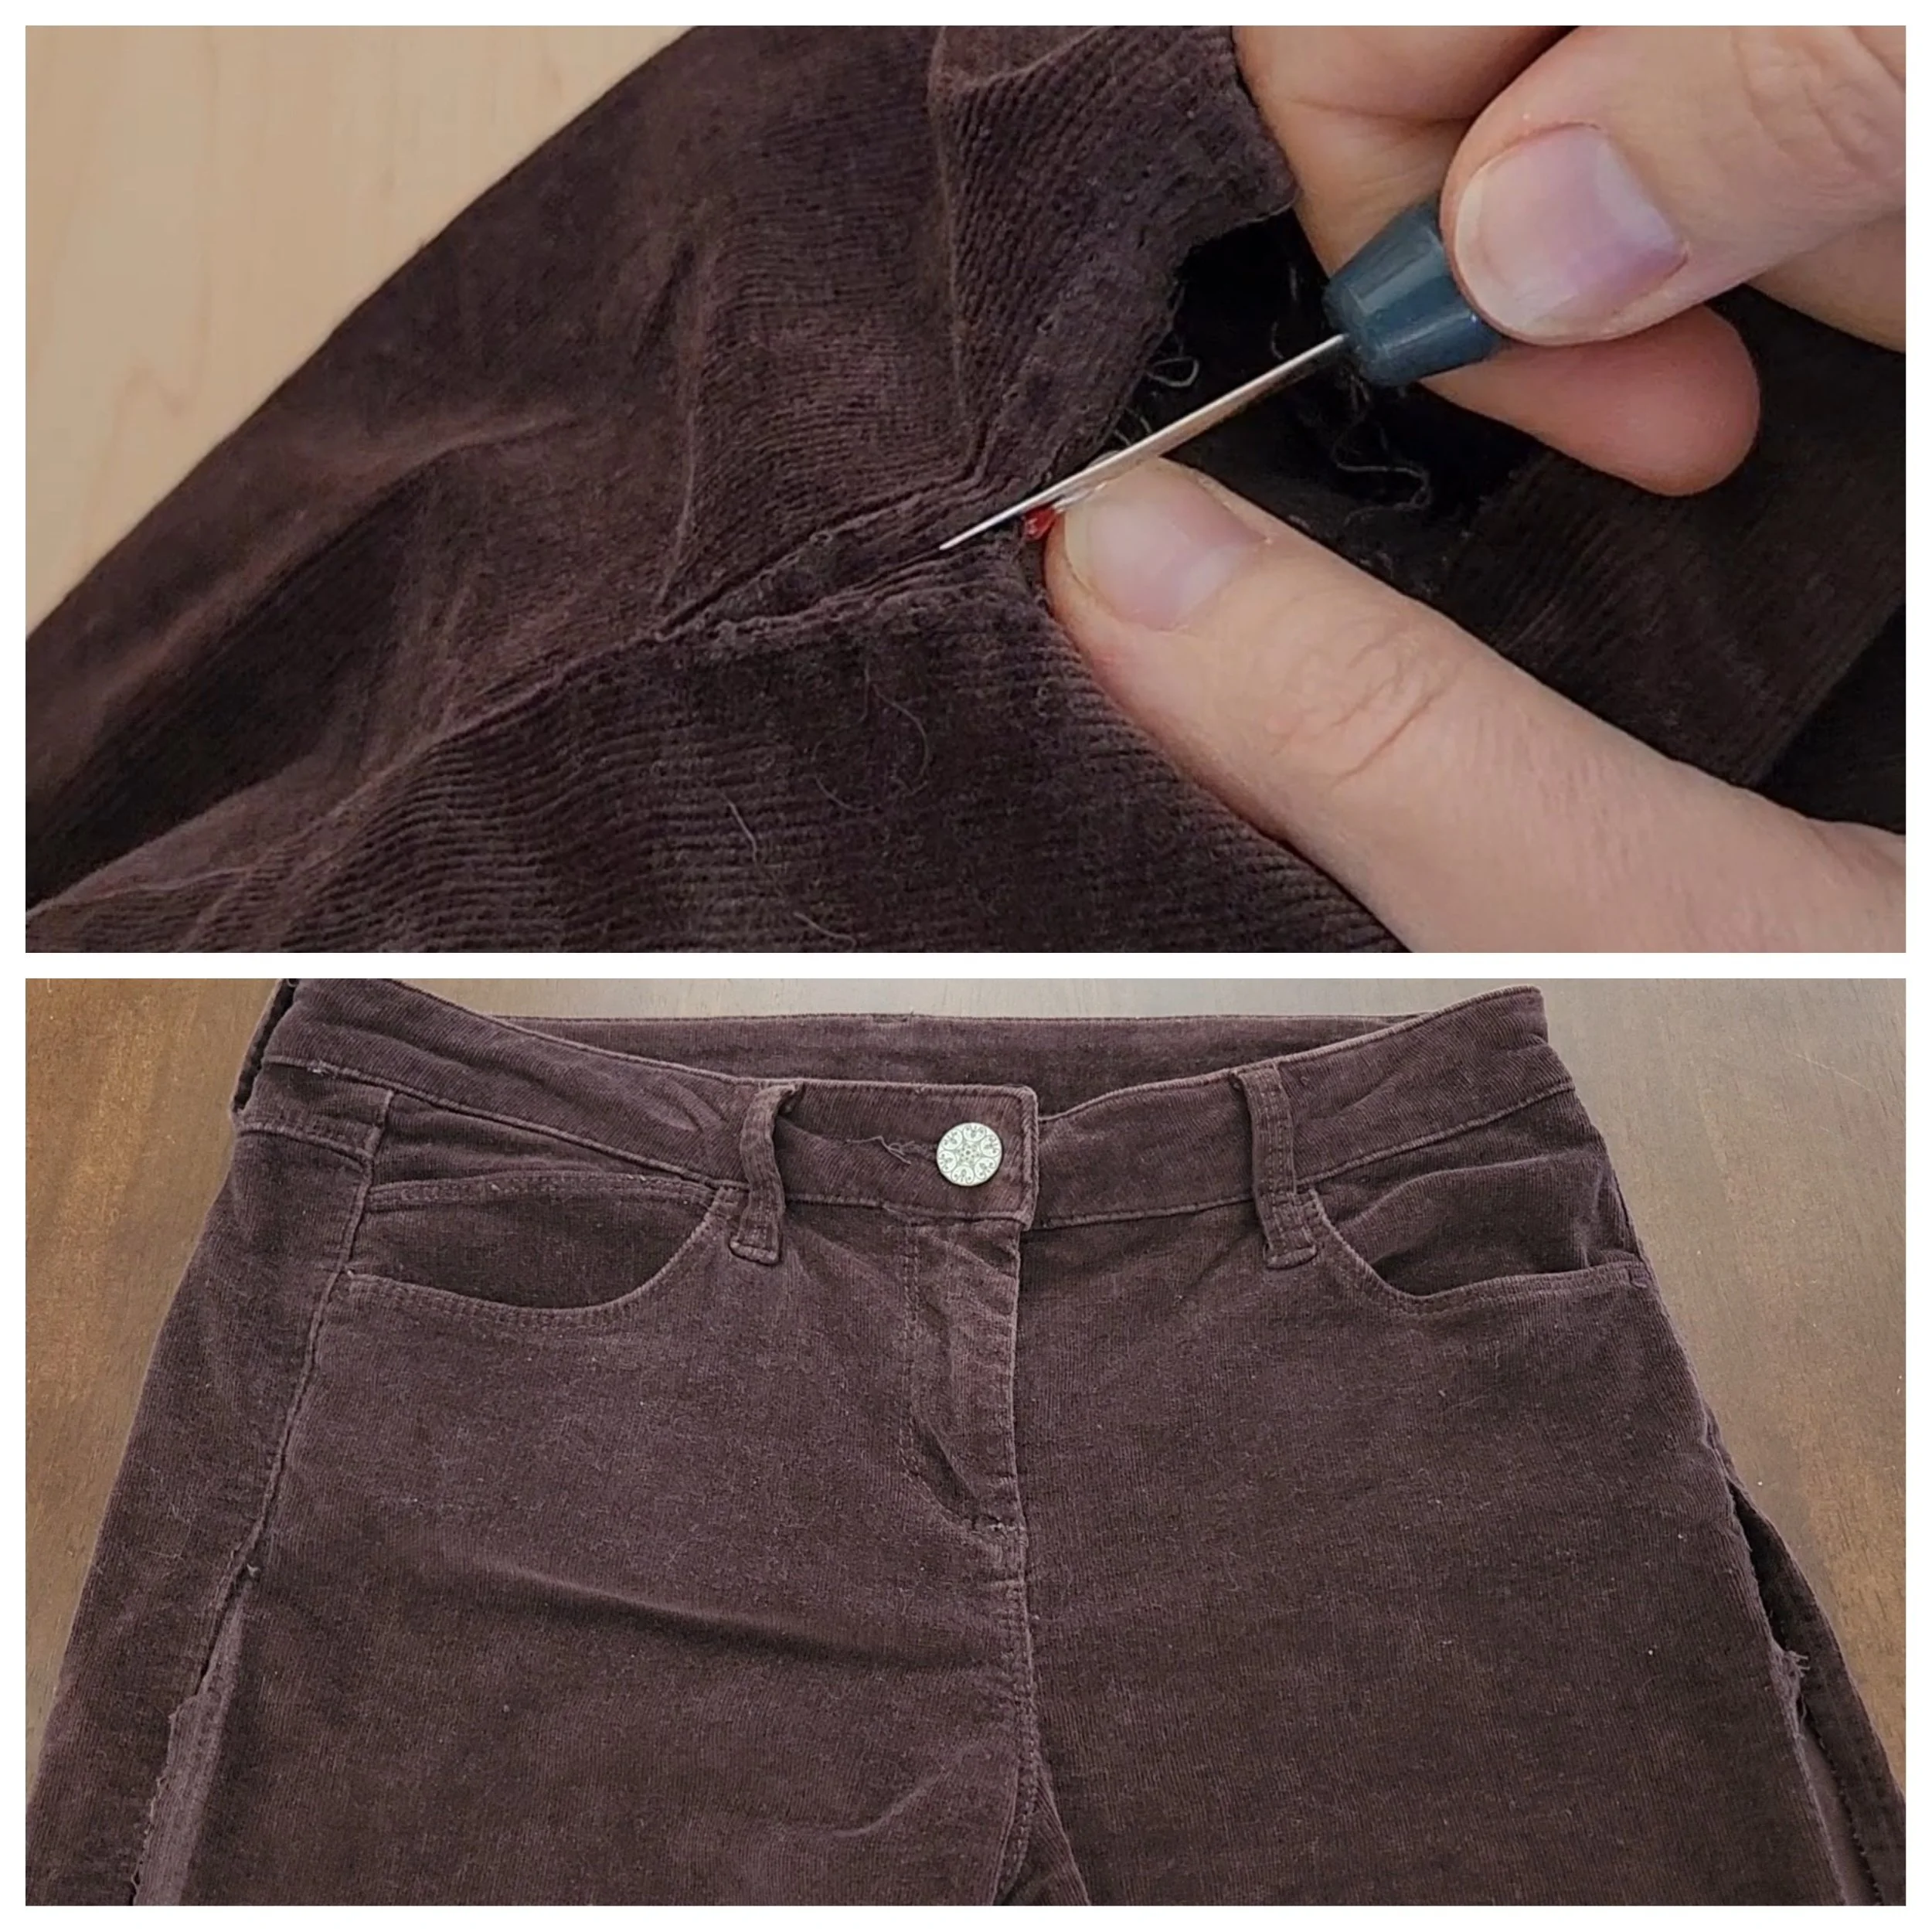
Ripping the side seams open. You can see where I have ripped to in the second image, once I reached the base of the pocket insert I stopped.
Step 2: Choosing and Preparing the Fabric
I grabbed some mustard-coloured linen from my stash for the gussets because it best suited the colour of the pants. Using the measurements from step 1, I drew 4 gussets onto the fabric: 2 front sashiko panels (one for each side) and 2 backing pieces for the inside.
To draw each gusset, I started by drawing the bottom edge onto the fabric. From the centre of this bottom line, I drew a straight line upwards to the desired length of the gusset. At the top of this line, I measured 1cm out to each side and connected these points back down to the ends of the bottom line, creating a triangle with two equal sides (an isosceles triangle) that ensures the gusset will fit smoothly into the side seam and drape properly.
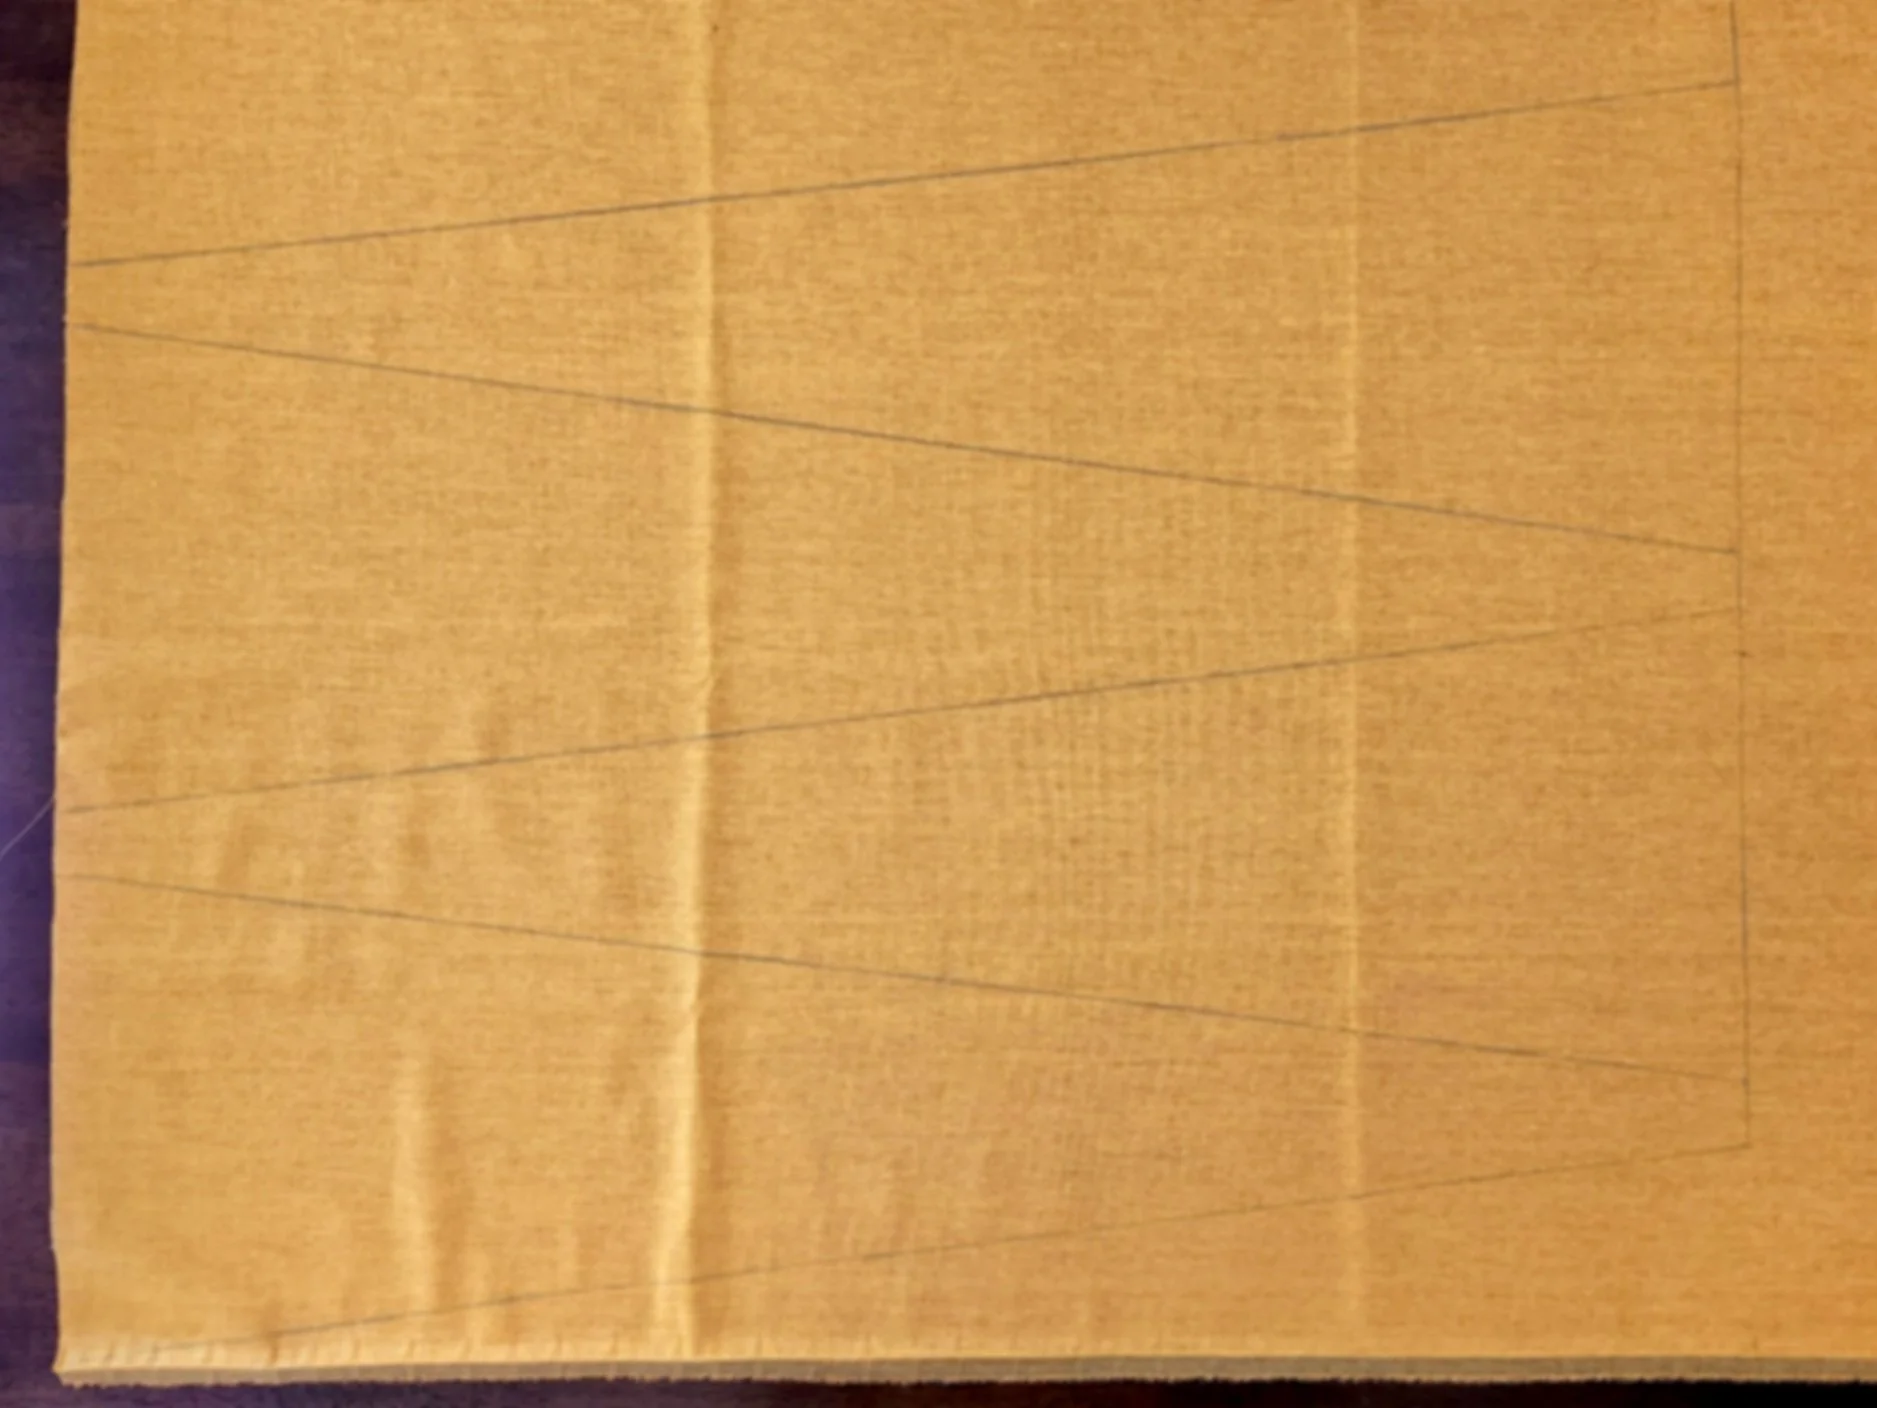
Triangle gussets drawn out with a tailor’s pencil onto my chosen fabric.
Step 3: Drawing the Sashiko Pattern
For the two front-facing gusset panels, I used my Sew Easy sashiko stencil and blue tailor’s pencil to draw the sashiko pattern onto the fabric. The pencil markings will wash out easily when I next wash the pants.

Using a stencil to draw my sashiko design with a washable taoilor’s pencil.
Step 4: Stitching the Sashiko
Using Olympus sashiko thread in brown (to match the pants colour) and sashiko needles, I stitched the sashiko design onto these panels. I made sure to weave the ends through the back of my work to secure them and avoid lumps from knots on my finished panels. Once finished, I cut out all the gusset pieces.
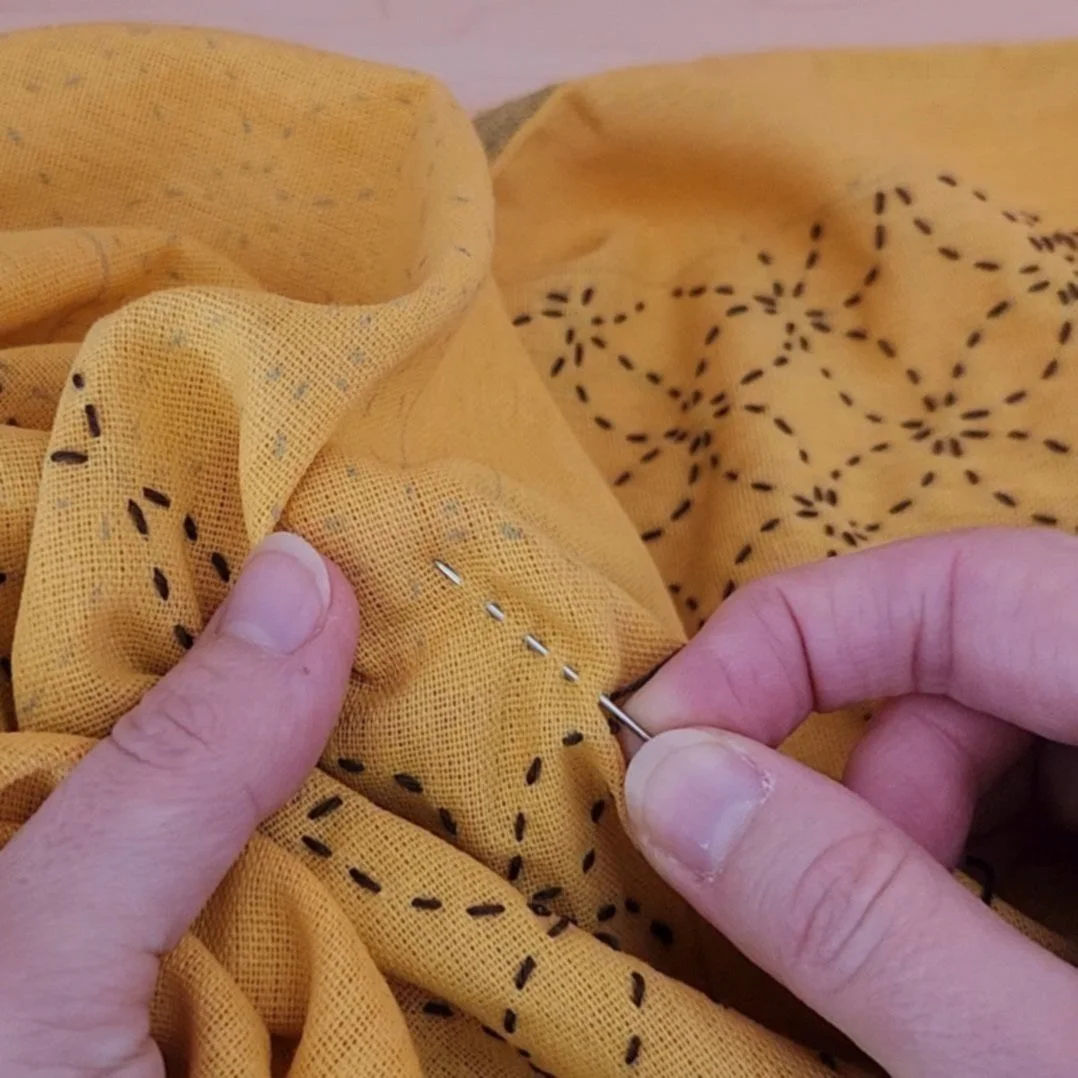
Loading stitches onto a sashiko needle.
Step 5: Adding a Middle Layer
At this point, I noticed the linen was lighter than the corduroy, and two layers of linen (front and back panels) might be too flimsy. So, I cut some plain white flannelette to use as a middle layer for extra weight and structure.
I ironed each piece and layered them: sashiko panel on the outside, flannelette in the middle, and plain linen at the back. I pinned everything carefully to prevent shifting during sewing.
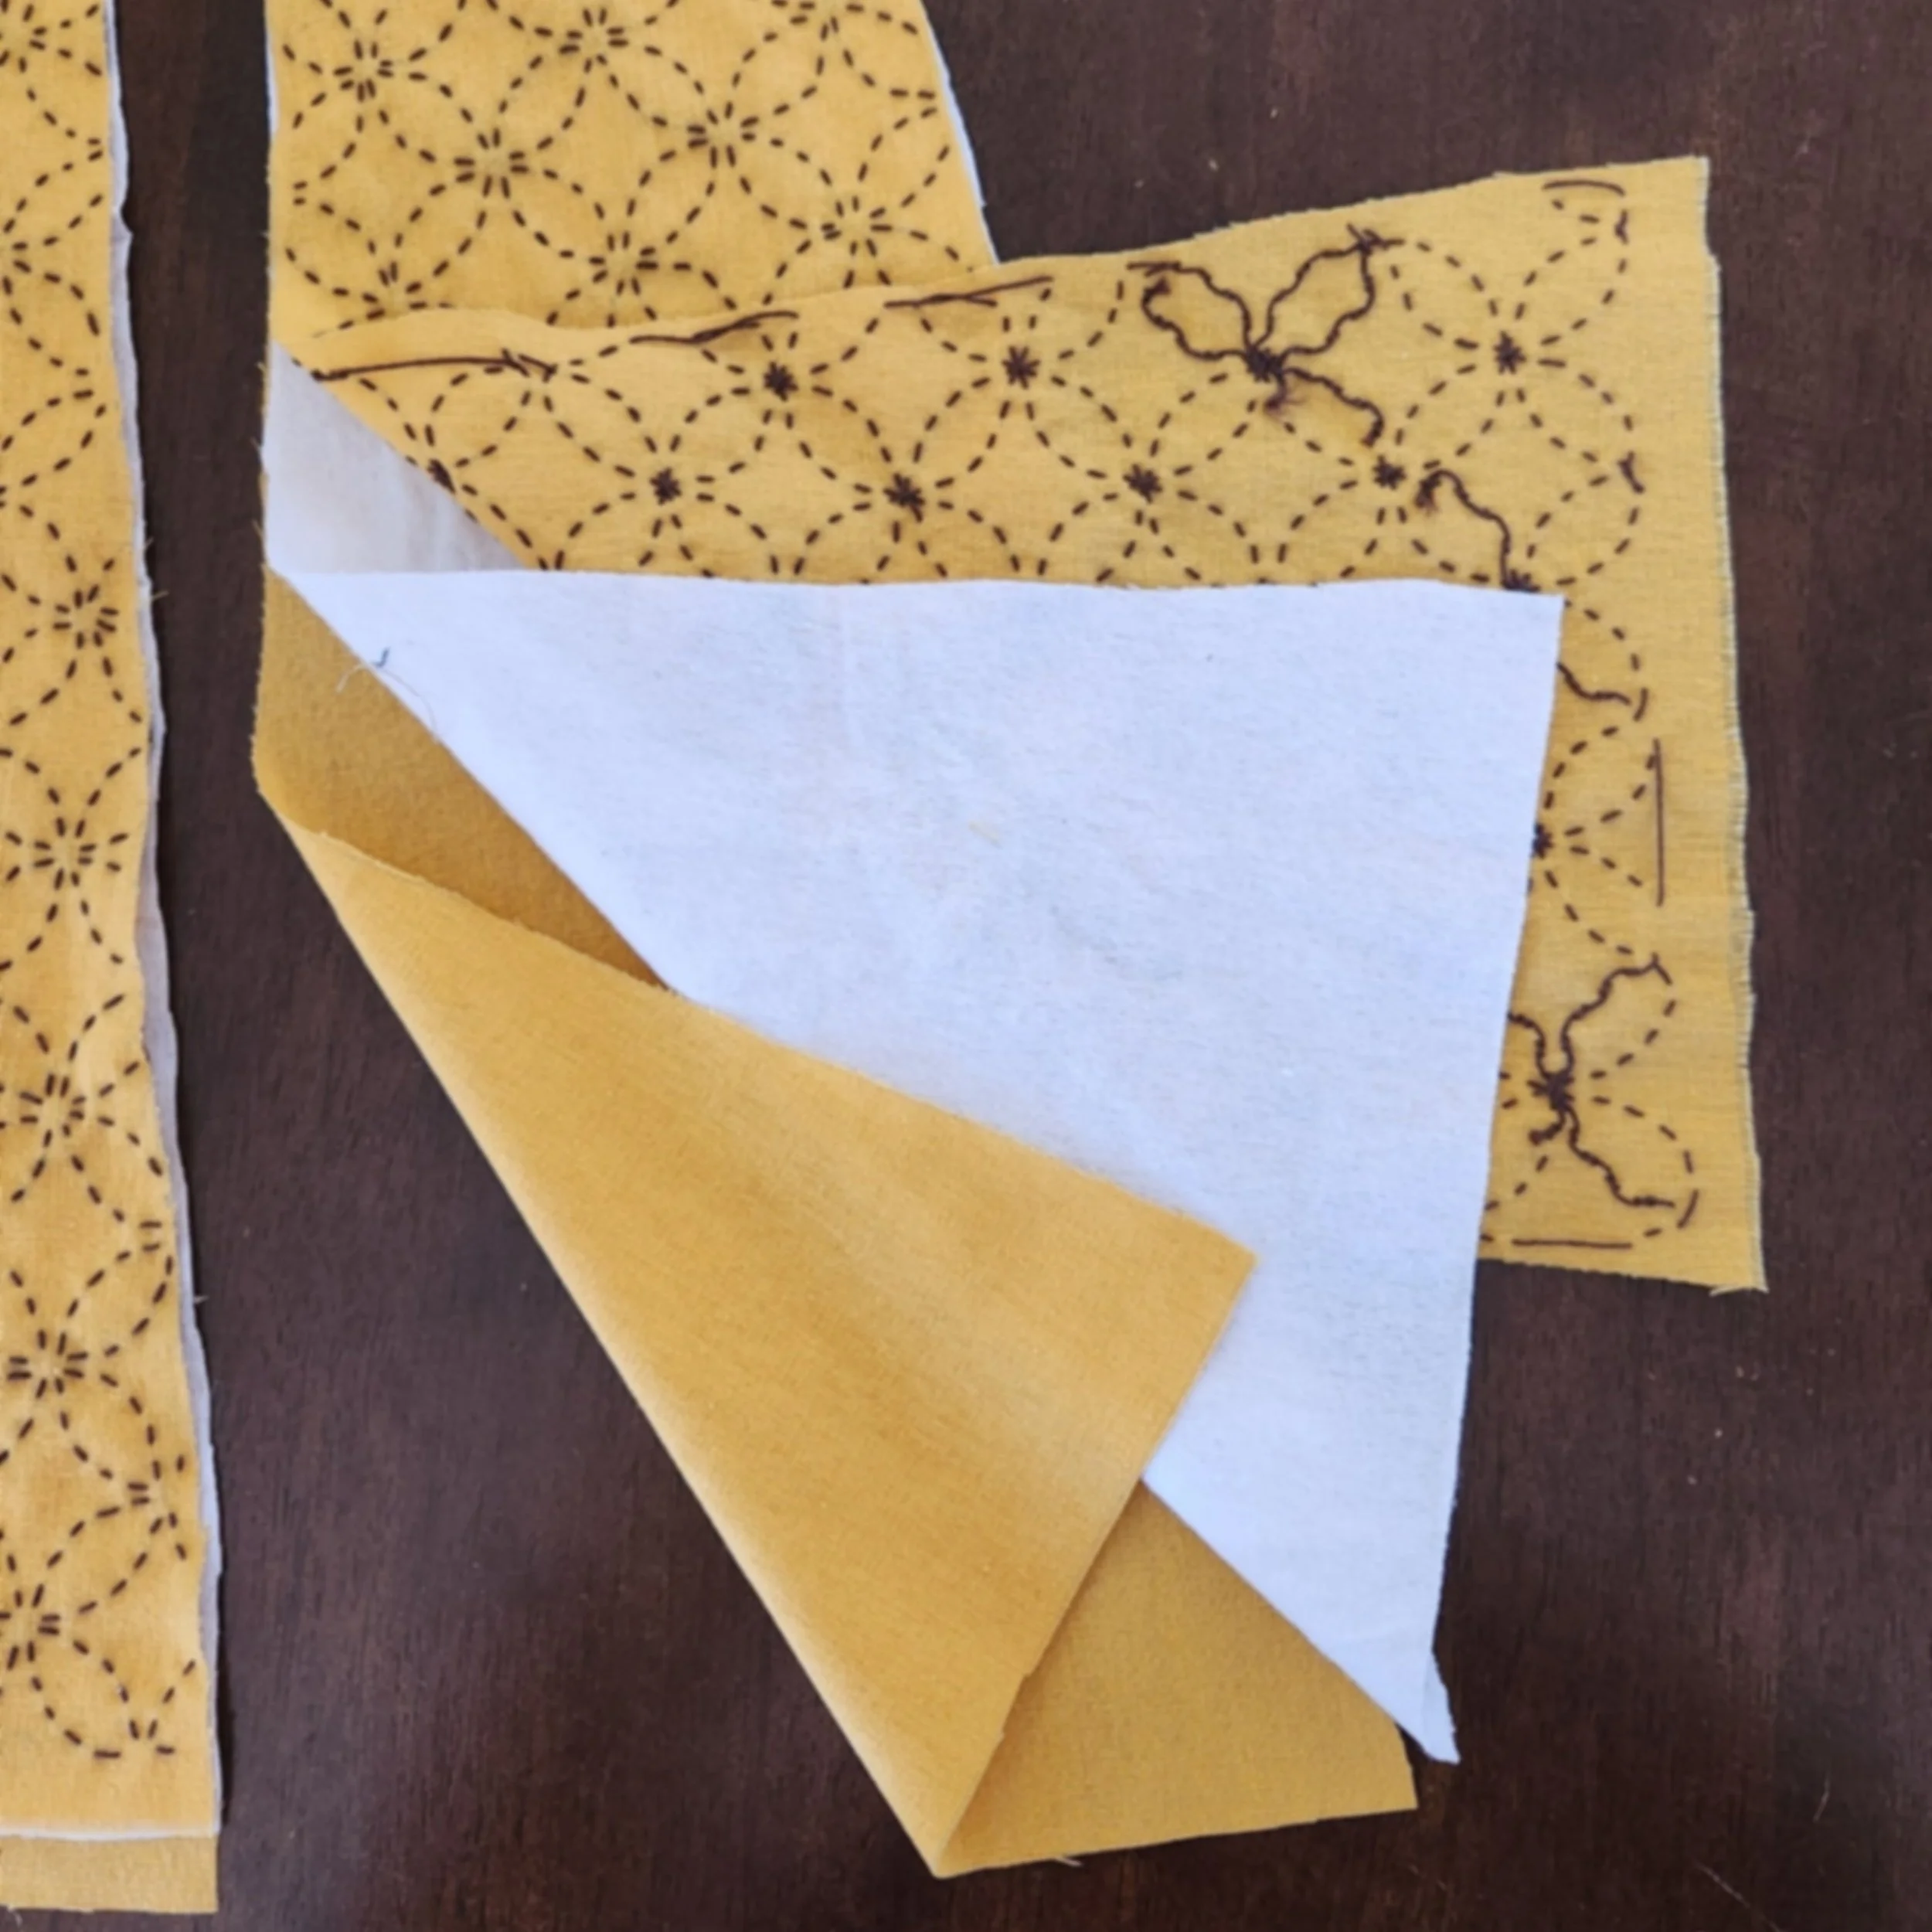
Showing each layer of the gusset panel: sashiko on top, flannelette in the middle, and plain linen at the bottom.
Step 6: Sewing in the Gussets
Next, I inserted the gussets into the side slits of the pants and sewed them in place using my sewing machine. I started from the top and stitched down the pant leg to ensure the gusset was positioned properly. Then, I sewed from the top again down the other side of the gusset, making sure the stitching began at the same point for a neat finish.
If you’re sewing by hand, I recommend using backstitch when sewing on the gussets for strength and durability. To keep the raw edges tidy, I used an overlocker, but if you don’t have one, a zig-zag stitch works well. When sewing by hand, a blanket stitch or whip stitch will help keep the edges neat.
Finally, I hand-sewed the inside of the gusset tops to help them sit neatly.
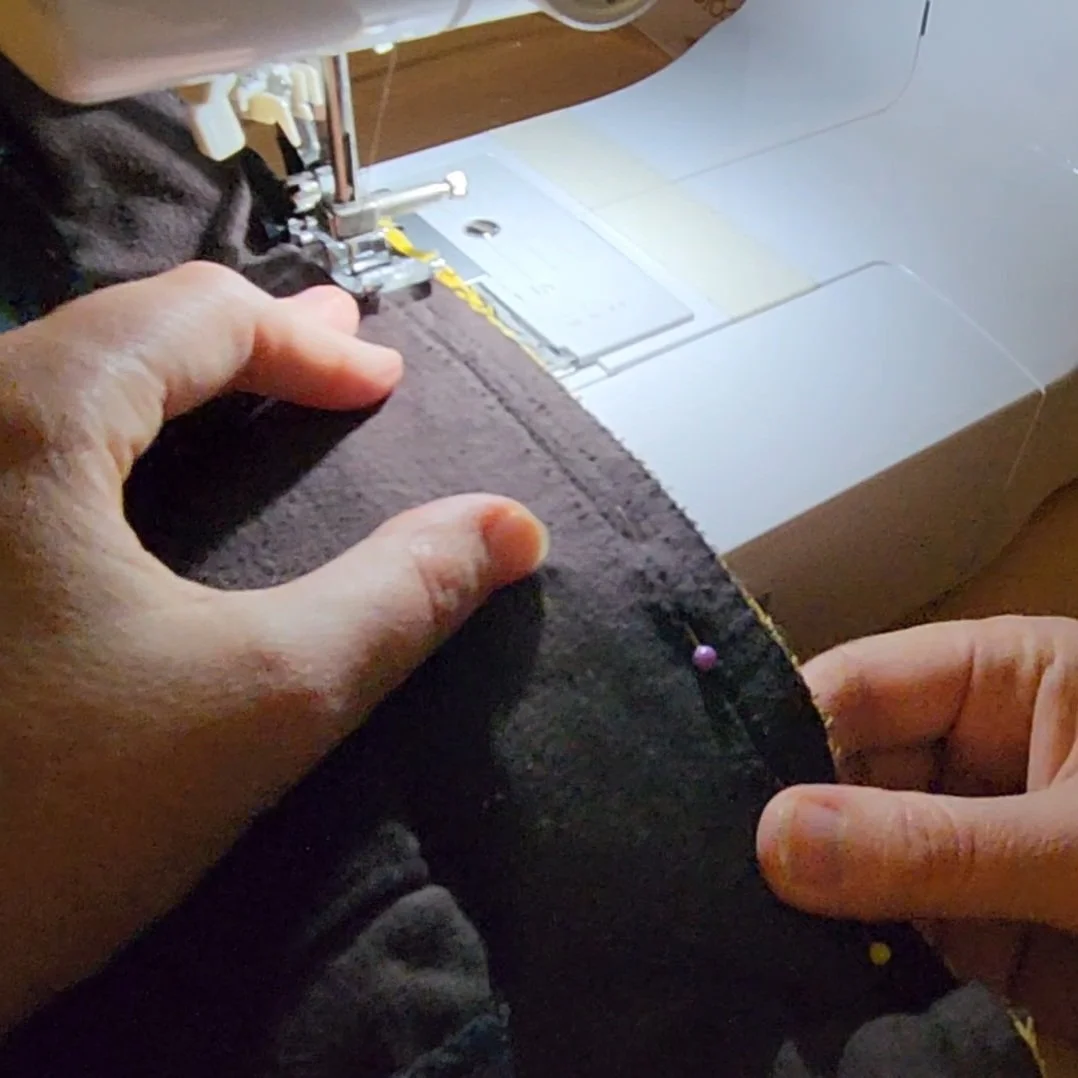
Sewing the gussets onto the pants with my sewing machine.
Step 7: Finishing Touches
Finally, I hemmed the pant legs to complete the upcycle.

Folding up the hem and pinning it ready to iron and sew.
This project is a perfect example of how visible mending and upcycling combine style, sustainability, and creativity. Adding sashiko gussets not only fixed the fit but gave these pants a unique, personal touch that I’m proud to wear.
If you’re keen to try sashiko yourself, I stock all the essentials, from stencils and thread to needles, to help you get started. Why not hit the op shops, or even your own wardrobe, and see if you can find something to reimagine and upcycle with sashiko or visible mending techniques?
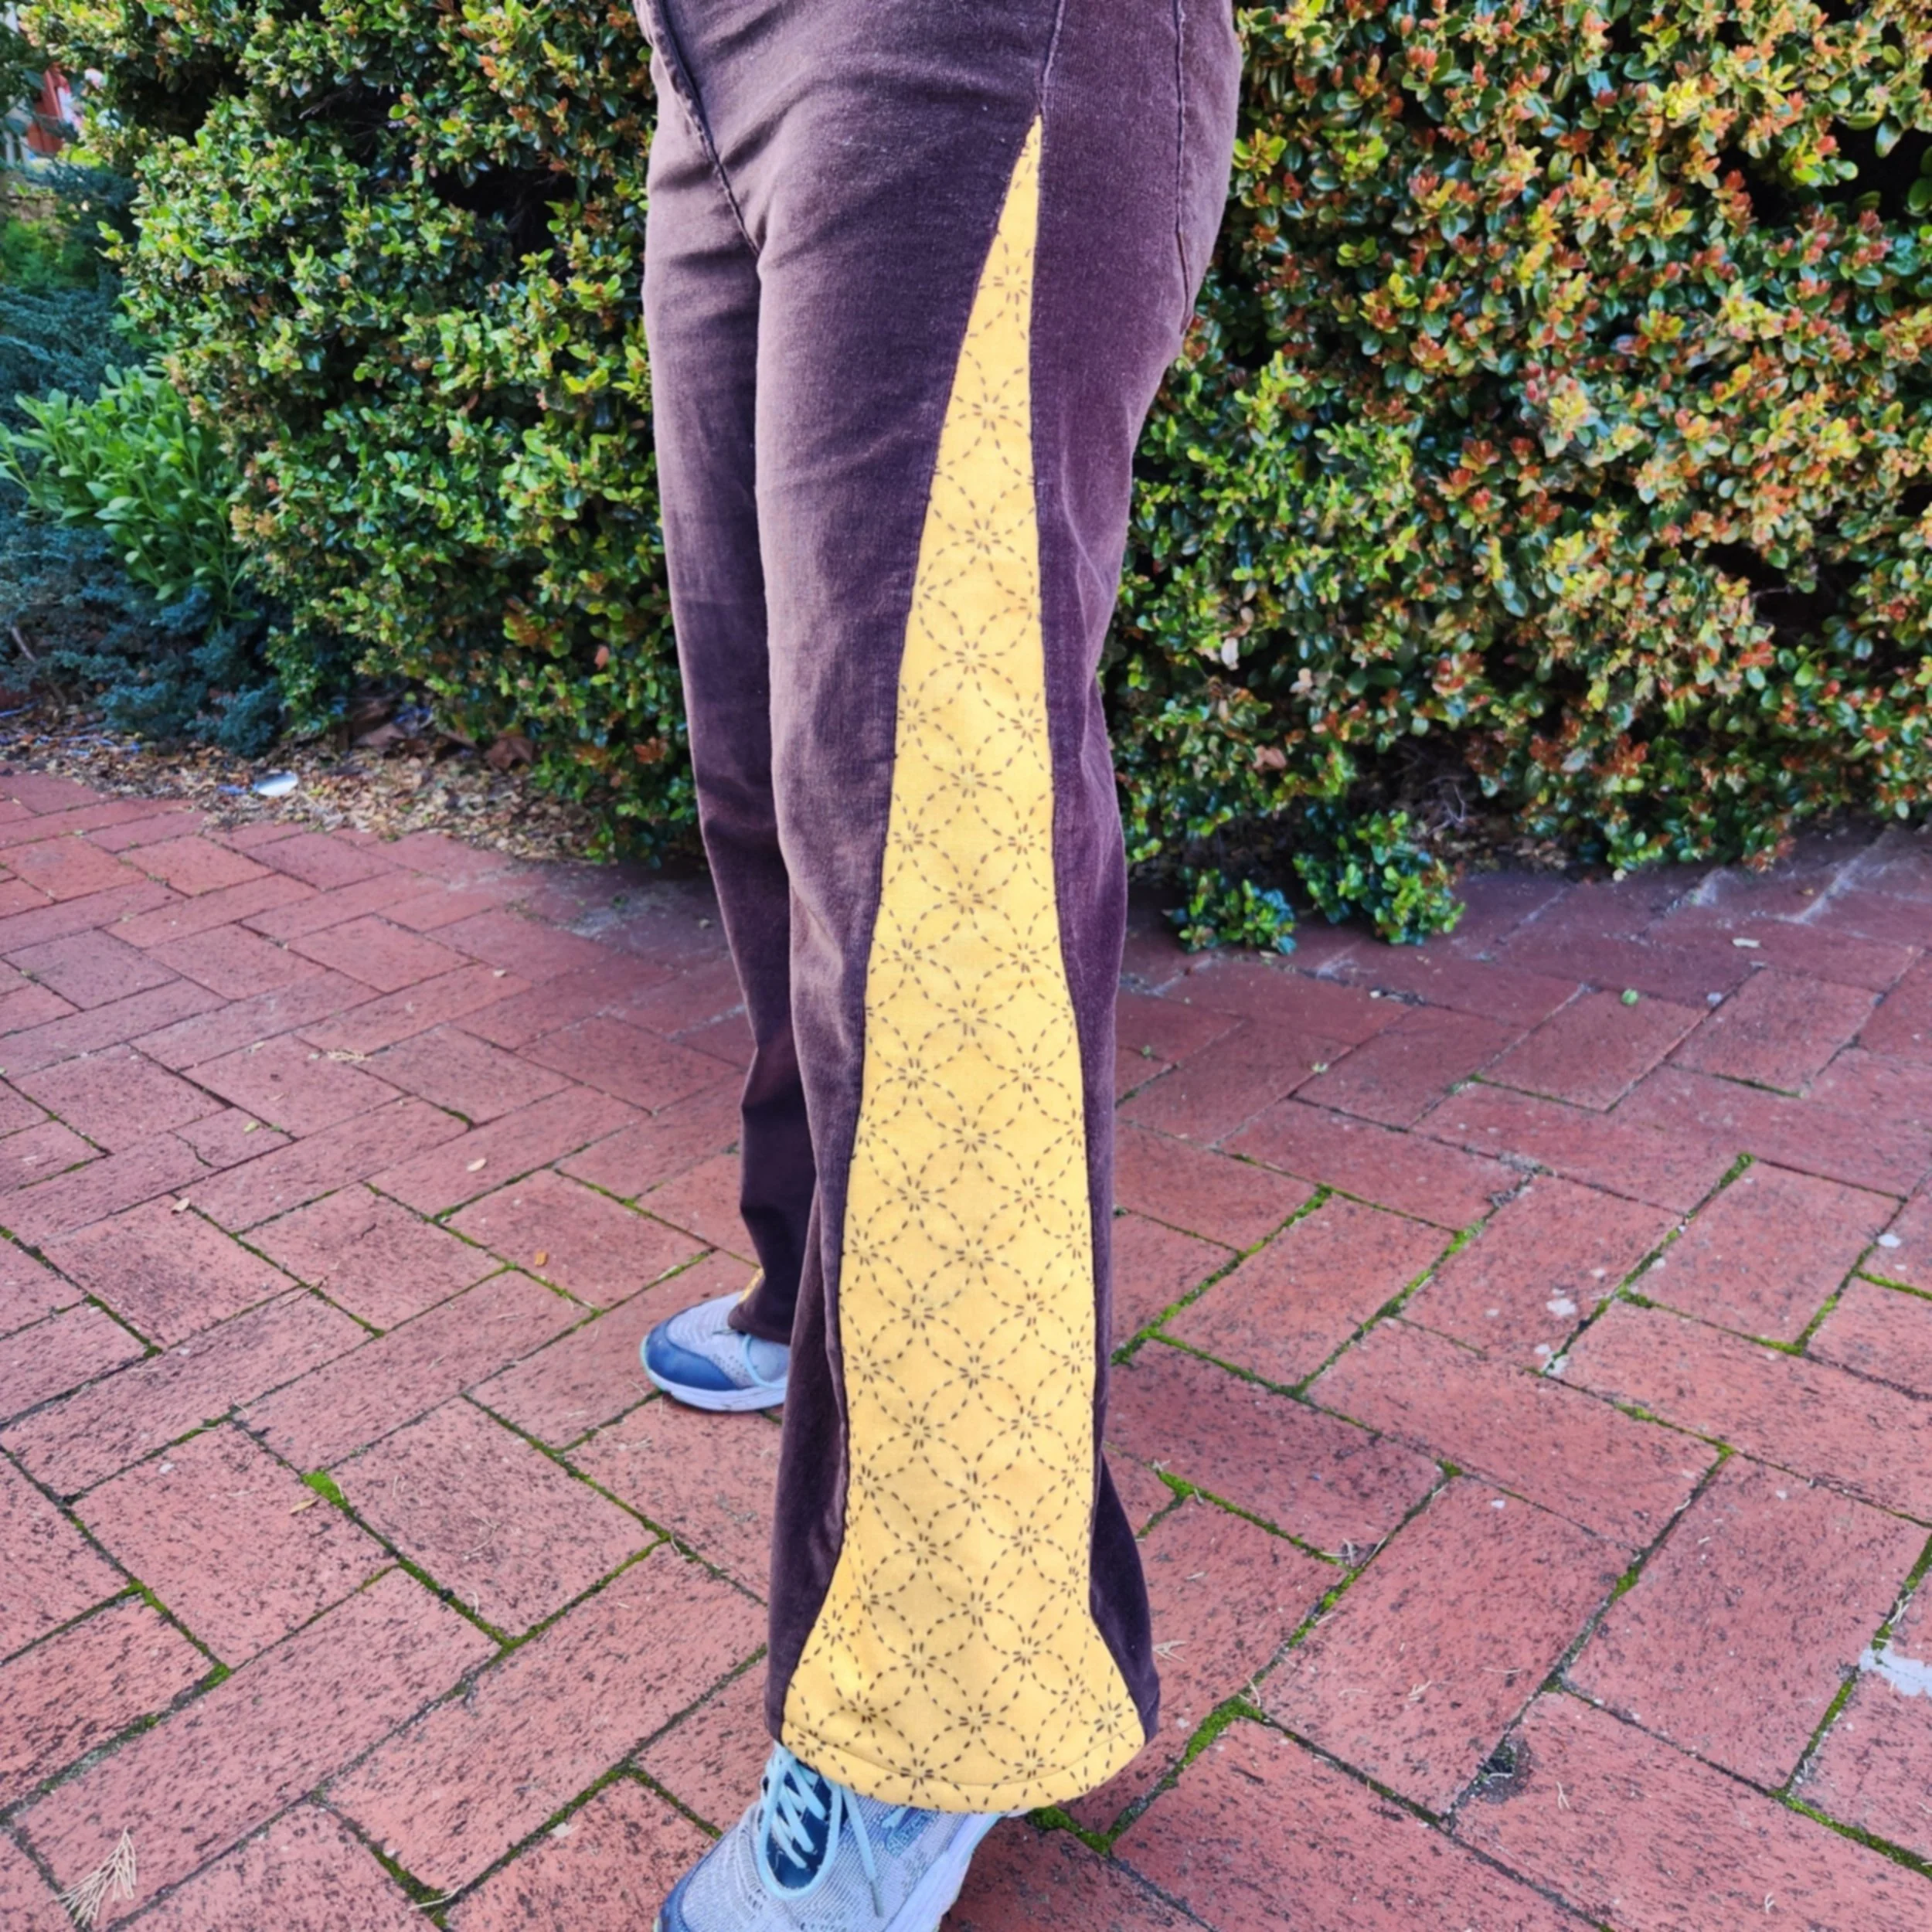
Close-up of the finished sashiko gusset detail on the corduroy pants.
Liked this blog? Why not check out my past blogs: Sashiko for Well-Loved Old Jeans or Op Shopping to Mend.
Happy making and mending!